← Back to library
Last updated March 2, 2026

LatsLower BackTeres MajorTrapezius
Lat Pulldown - Alternate
Use independent handles. Pull one side down, then the other. Keep the non-working arm extended or held in contraction.
Quick facts
- Level
- Intermediate
- Mechanic
- Compound
- Force
- Pull
- Type
- Strength
- Injury Risk
- Low
- Hypertrophy
- Very High
- Calorie Burn
- Medium
Muscle focus
Primary and secondary muscle groups targeted by this movement.
Primary
Lats
Secondary
Biceps
Equipment & setup
What you need and how to position yourself before starting.
Equipment
Weight Machines / Selectorized
Movement pattern
Alternate
Posture
Seated
Tracking parameters
repsweight
Step-by-step instructions
Follow these cues to master proper technique and stay safe through every rep.
- Step 1Setup
- Sit at the lat pulldown machine with your knees secured under the pad.
- Adjust the seat height so that the bar is at about the level of your chin.
- Step 2Grab the Bar
- Reach up and grasp the bar with an overhand grip, slightly wider than shoulder-width.
- Ensure your grip is firm but not overly tight.
- Step 3Position Your Body
- Sit up straight with your chest lifted and shoulders back.
- Engage your core to stabilize your body throughout the movement.
- Step 4Pull the Bar Down
- Pull the bar down towards your upper chest by bending your elbows and squeezing your shoulder blades together.
- Keep your elbows pointed down and close to your body as you pull.
- Step 5Alternate Pull
- After reaching the bottom position, release one side of the bar while keeping the other side pulled down.
- Alternate between pulling down each side of the bar in a controlled manner.
- Step 6Return the Bar
- Slowly extend your arms to return the bar to the starting position without letting it go all the way up.
- Maintain control and keep tension in your muscles.
- Step 7Repeat
- Continue alternating pulls for the desired number of repetitions.
- Focus on maintaining proper form throughout the exercise.
- Step 8Finish the Exercise
- After completing your reps, carefully release the bar and stand up.
- Ensure you do this safely to avoid any strain or injury.
Alternatives & variations
Explore similar movements targeting the same muscles.
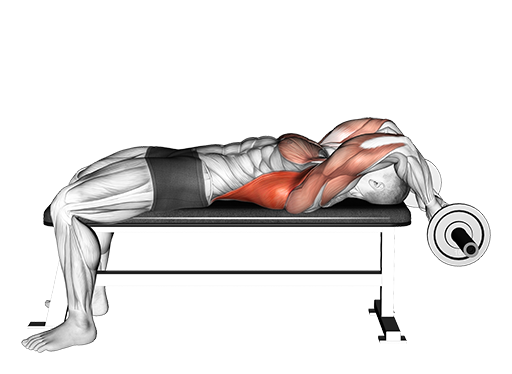
Bent Arms Pullover - Lying (EZ Bar)
Lats
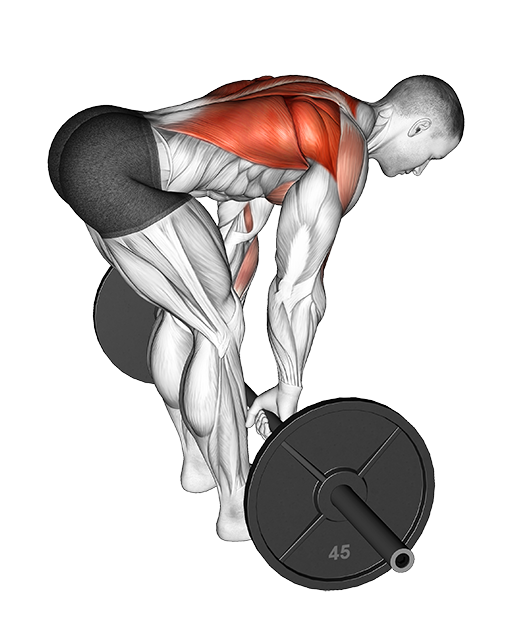
Bent Over Row (Barbell)
Lats
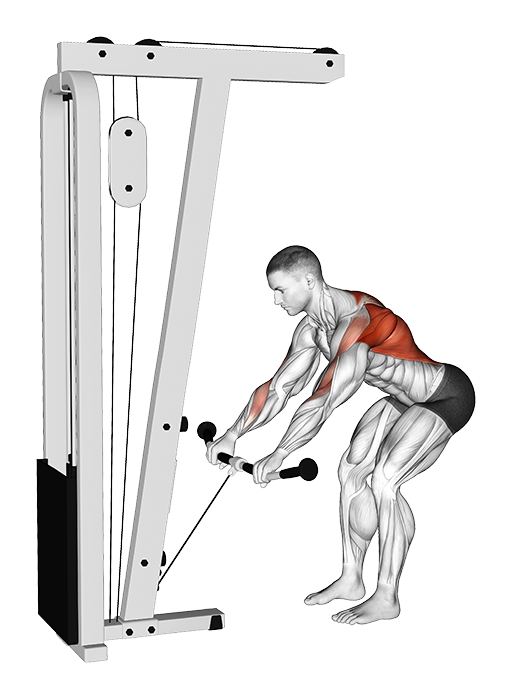
Bent Over Row (Cable)
Lats
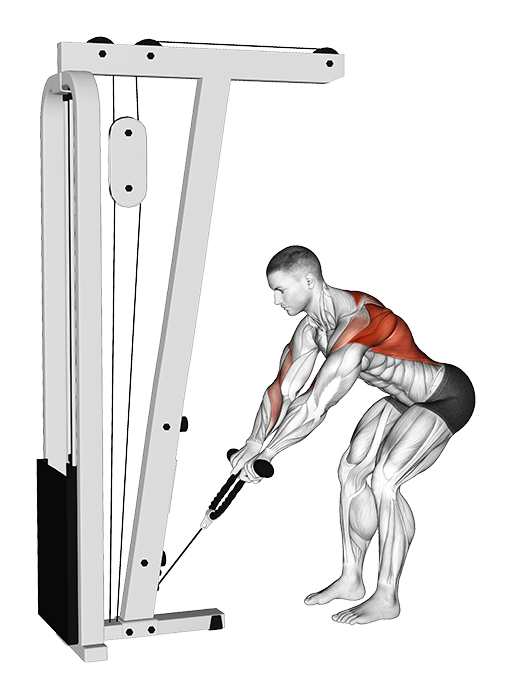
Bent Over Row (Cable: Rope)
Lats
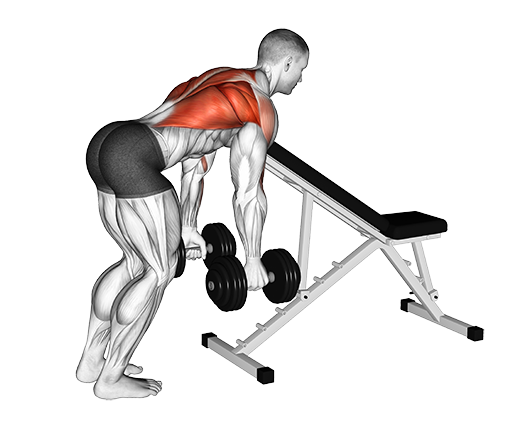
Bent Over Row - Chest Supported (Dumbbell)
Mid Traps
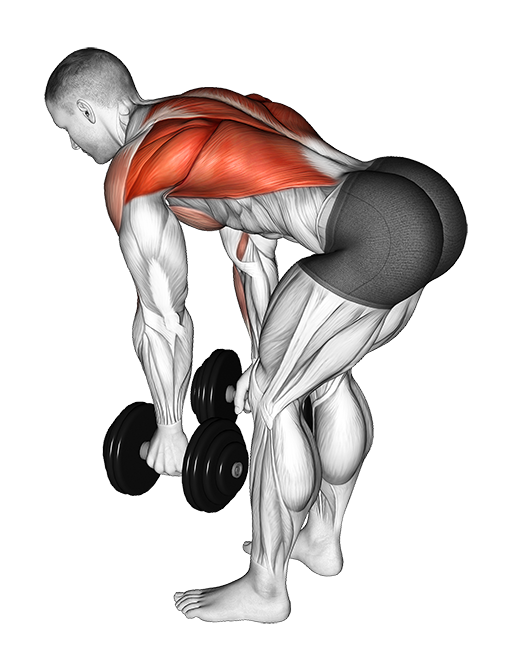
Bent Over Row (Dumbbell)
Lats
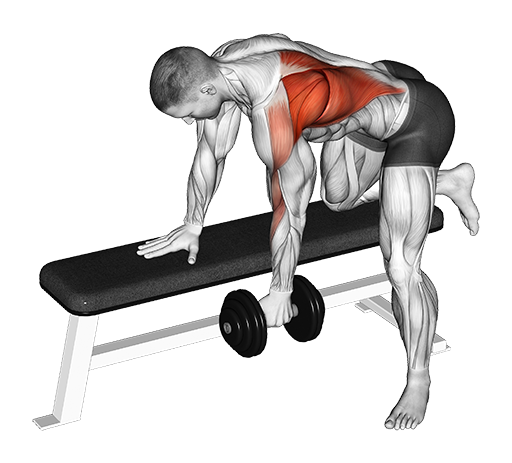
Bent Over Row - One Arm (Dumbbell)
Lats
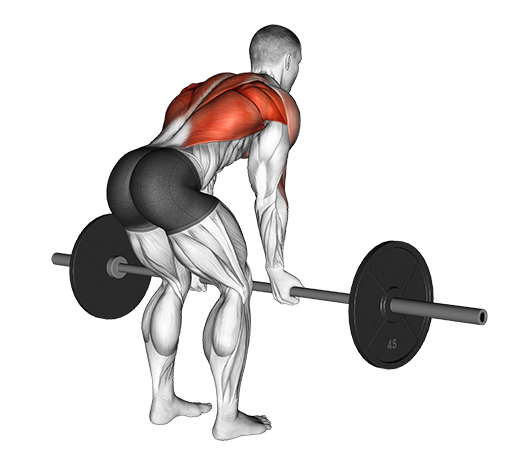
Bent Over Row - Reverse Grip (Barbell)
Lats
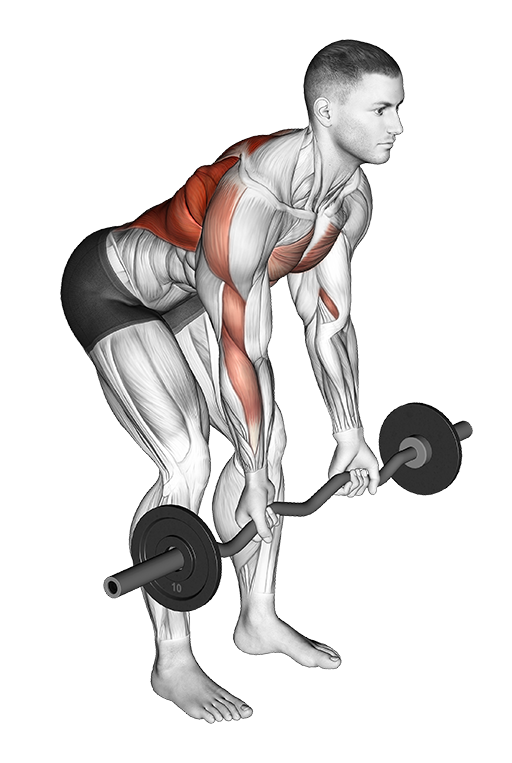
Bent Over Row - Reverse Grip (EZ Bar)
Lats
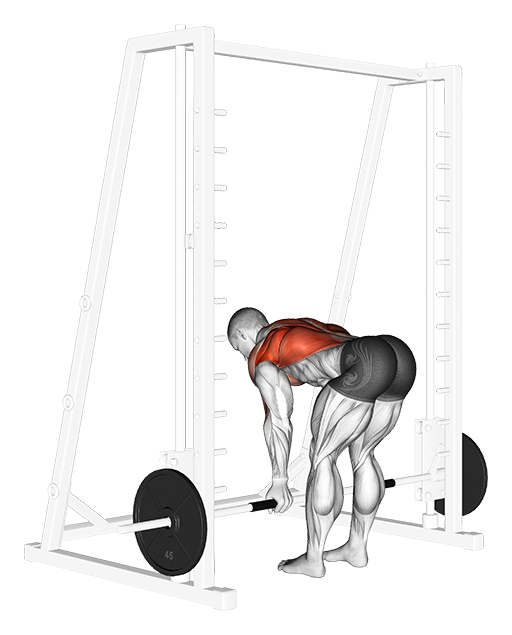
Bent Over Row - Reverse Grip (Smith)
Lats
_Back_medium_1.png&w=3840&q=75)
Bent Over Row - Single Arm (Dumbbell)
Lats
_Back-FIX_medium_1.png&w=3840&q=75)
Bent Over Row (Smith)
Lats
_Back_medium_1.png&w=3840&q=75)
Bent Over Row - (Trap Bar)
Lats
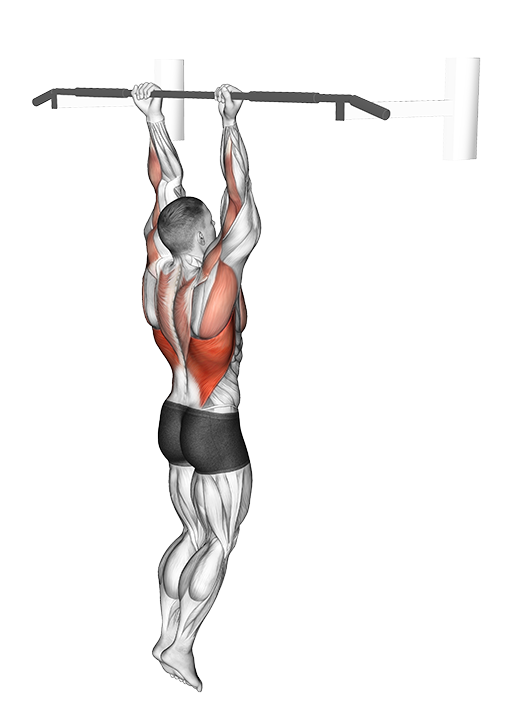
Chin Up
Lats
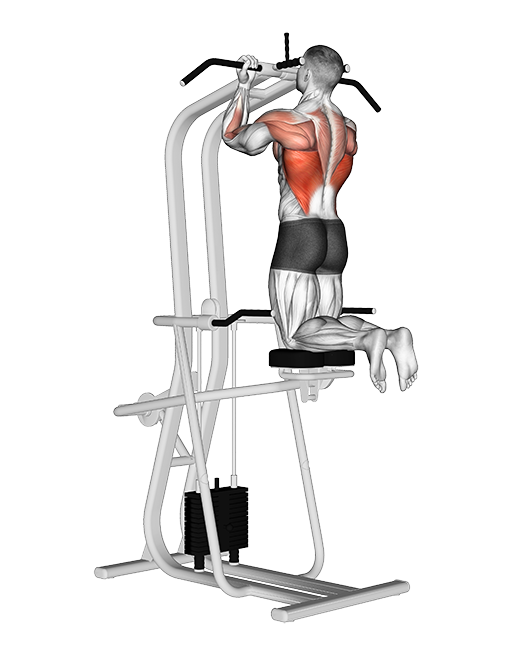
Chin Up (Assisted)
Lats
-(VERSION-2)_Back_medium_1.png&w=3840&q=75)
High Row (Machine: Plate Loaded)
Upper Back / Rhomboids
_Back_medium_1.png&w=3840&q=75)
High Row - Iso-Lateral, Reverse Grip
Lats
_Back_medium_1.png&w=3840&q=75)
High Row - Seated (Cable: V-Bar)
Lats
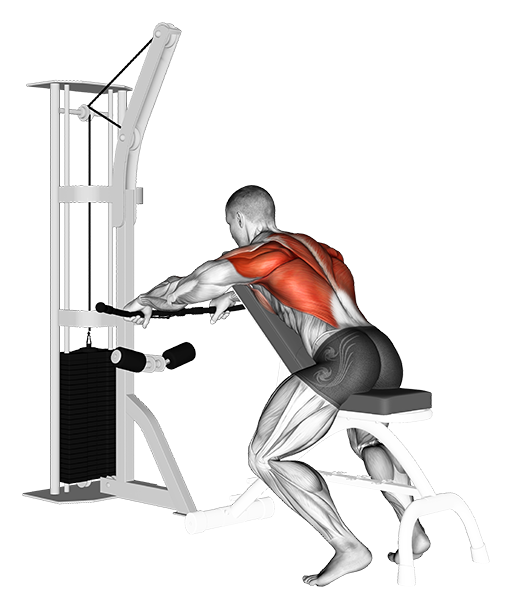
Incline Bench Row (Cable)
Lats
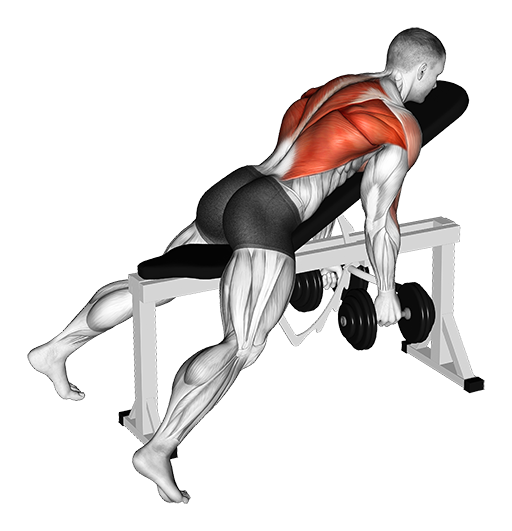
Incline Bench Row - Hammer Grip (Dumbbell)
Lats
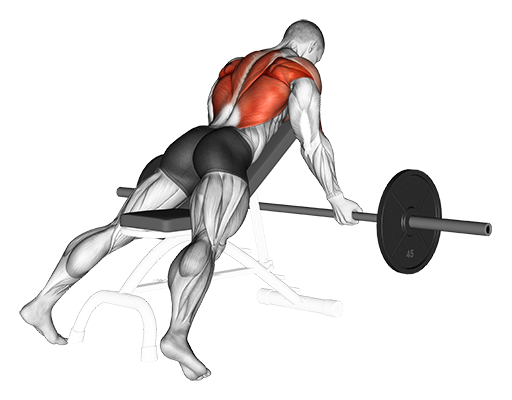
Incline Bench Row - Reverse Grip (Barbell)
Lats
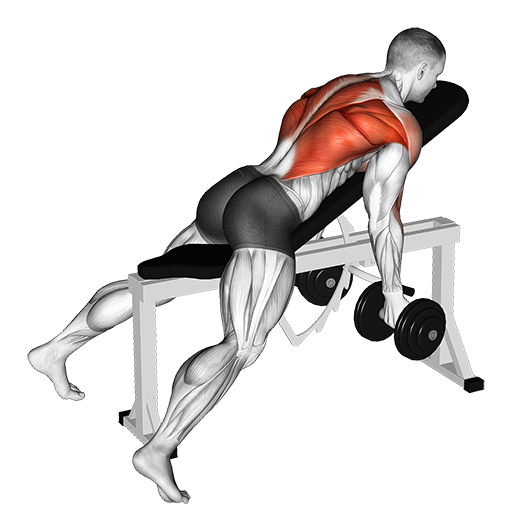
Incline Bench Row - Reverse Grip (Dumbbell)
Lats
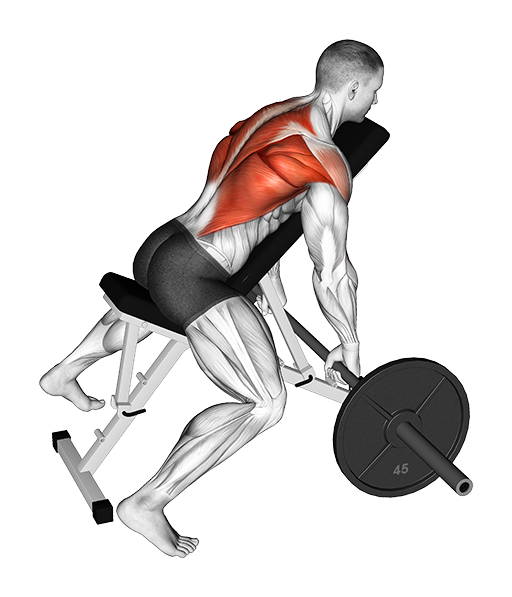
Incline Row (Barbell)
Lats
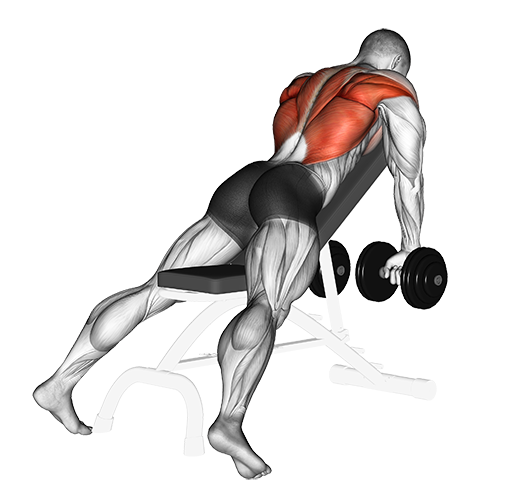
Incline Row (Dumbbell)
Lats
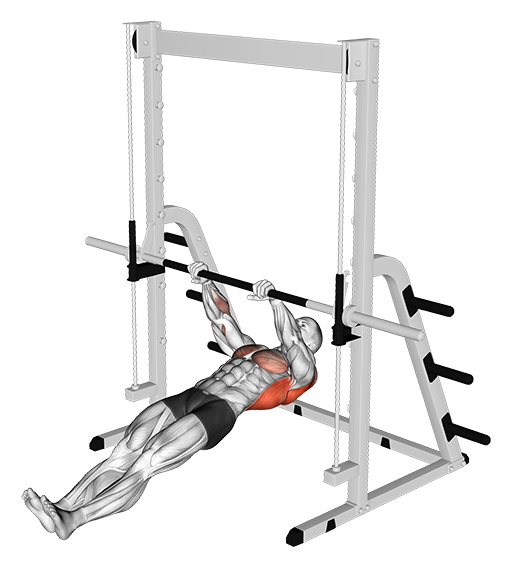
Inverted Row
Lats
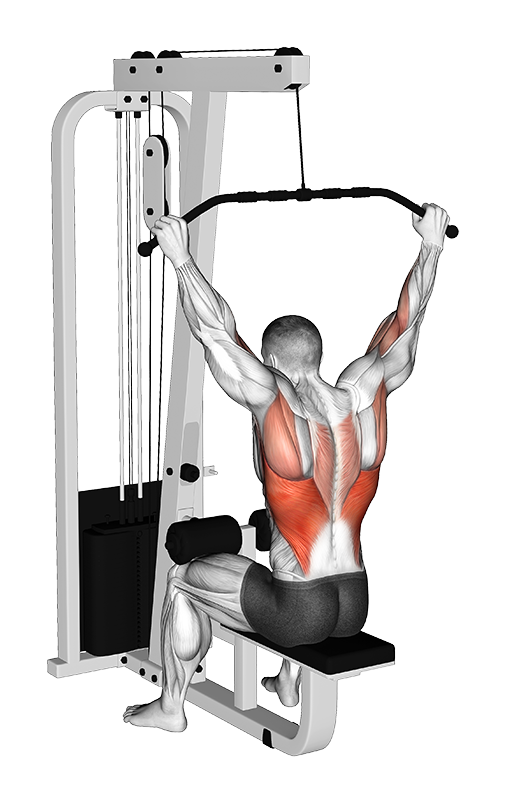
Lat Pulldown - Behind Neck, Wide Grip (Cable)
Lats
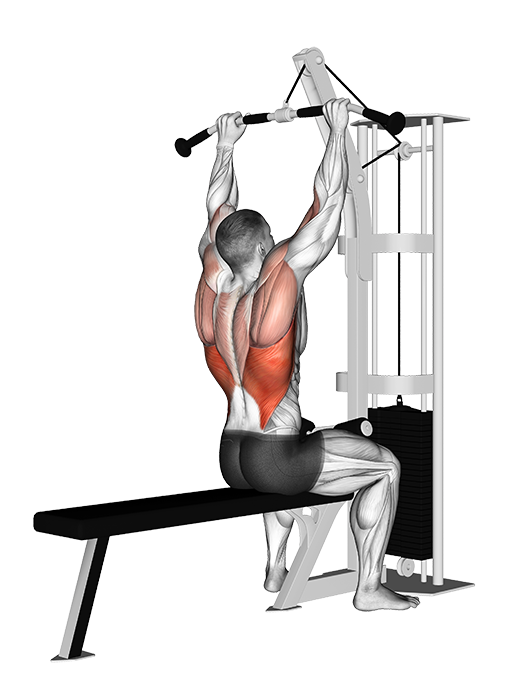
Lat Pulldown (Cable)
Lats
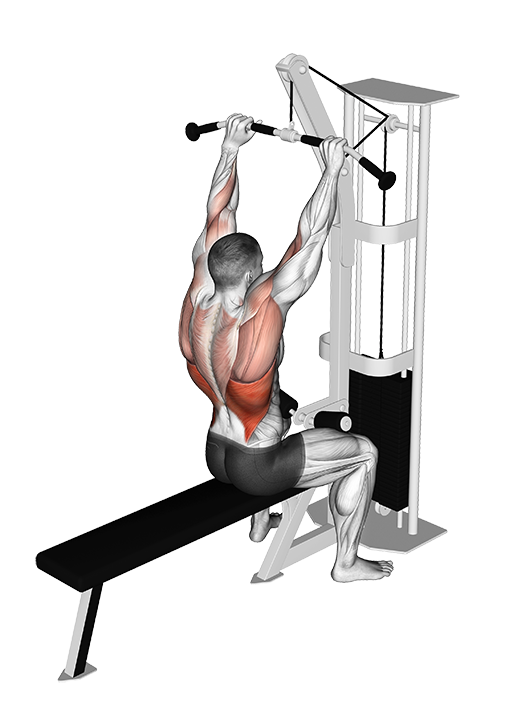
Lat Pulldown (Cable: Bar)
Lats
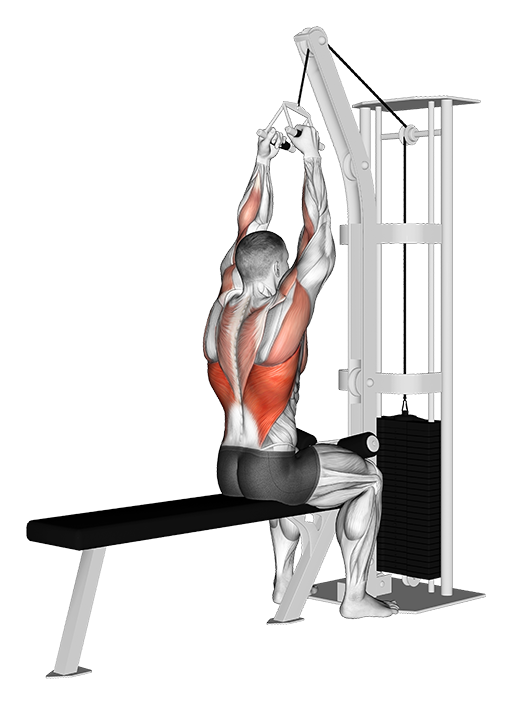
Lat Pulldown (Cable: V-Bar)
Lats
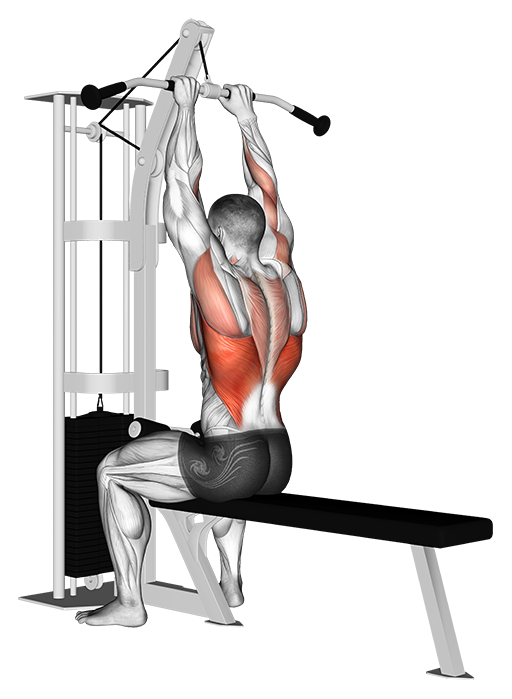
Lat Pulldown - Close Grip (Cable)
Lats
_Back_medium_1.png&w=3840&q=75)
Lat Pulldown - Cross (Machine)
Lats
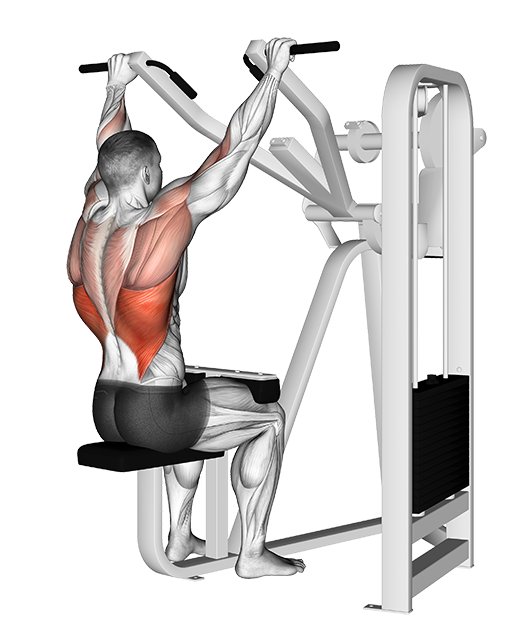
Lat Pulldown (Machine)
Lats
_Back_medium_1.png&w=3840&q=75)
Lat Pulldown (Machine: Plate Loaded)
Lats
_Back_medium_1.png&w=3840&q=75)
Lat Pulldown - Neutral Grip (Cable)
Lats
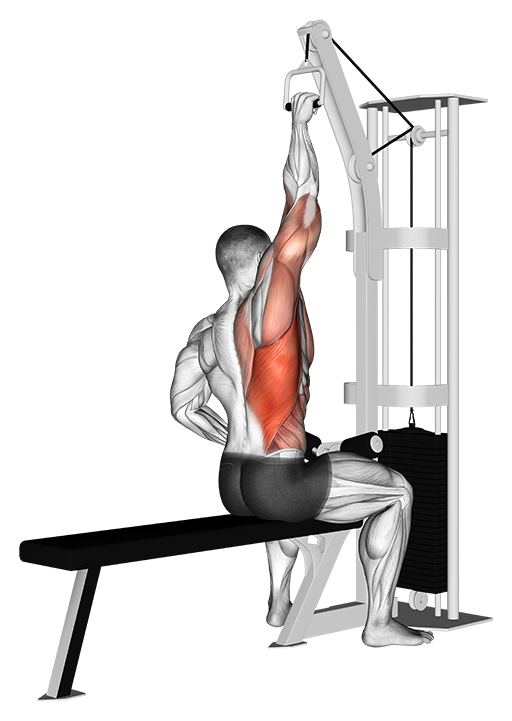
Lat Pulldown - One Arm (Cable)
Lats
_Back_medium_1.png&w=3840&q=75)
Lat Pulldown - One Arm, Wide (Machine: Plate Loaded)
Lats
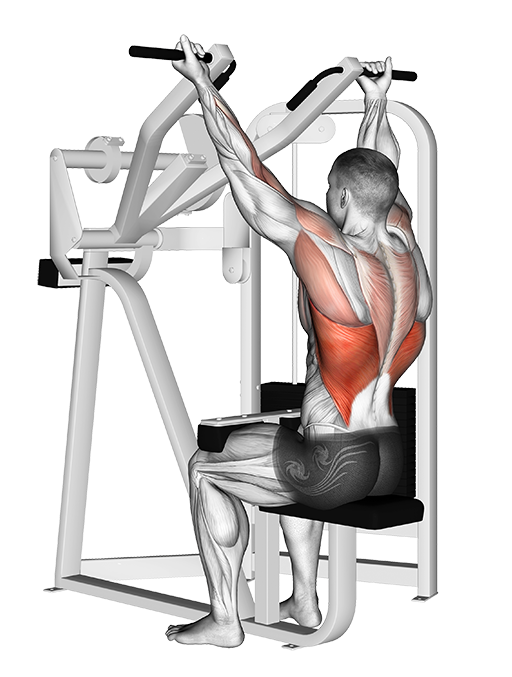
Lat Pulldown - Reverse Grip
Lats
_Back_medium_1.png&w=3840&q=75)
Lat Pulldown - Reverse Grip (Machine: Plate Loaded)
Lats
_Back-FIX_medium_1.png&w=3840&q=75)
Lat Pulldown - Straight Arm (Cable: Rope)
Lats
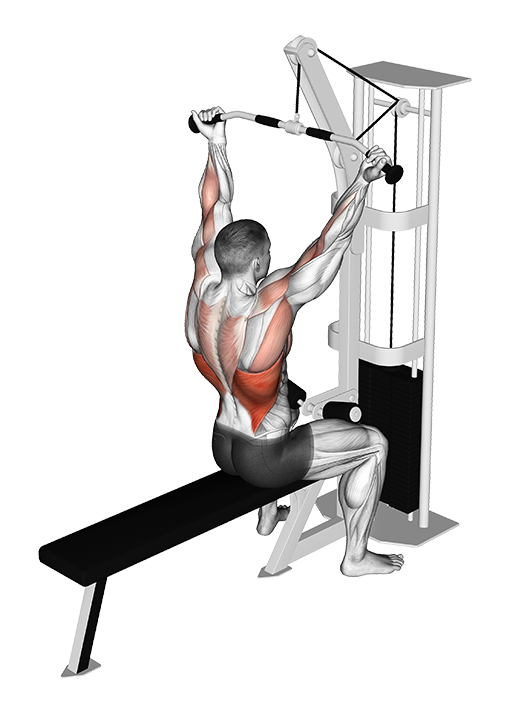
Lat Pulldown - Underhand (Cable)
Lats
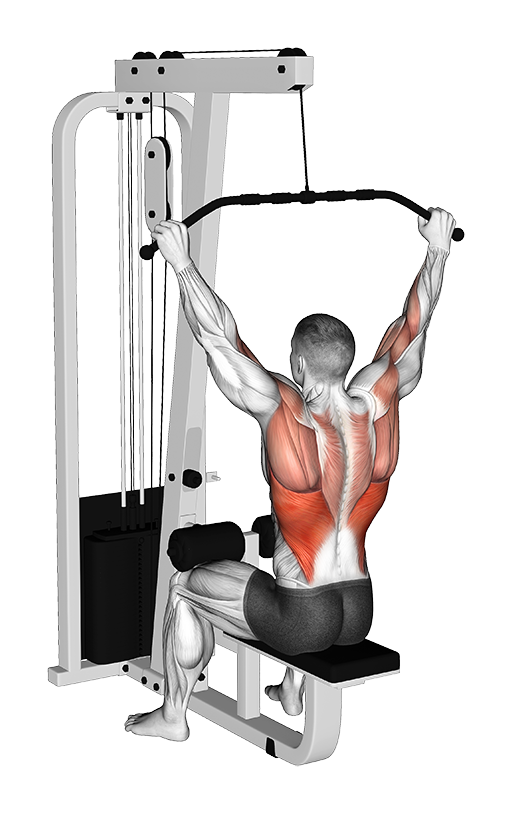
Lat Pulldown - Wide Grip (Cable)
Lats
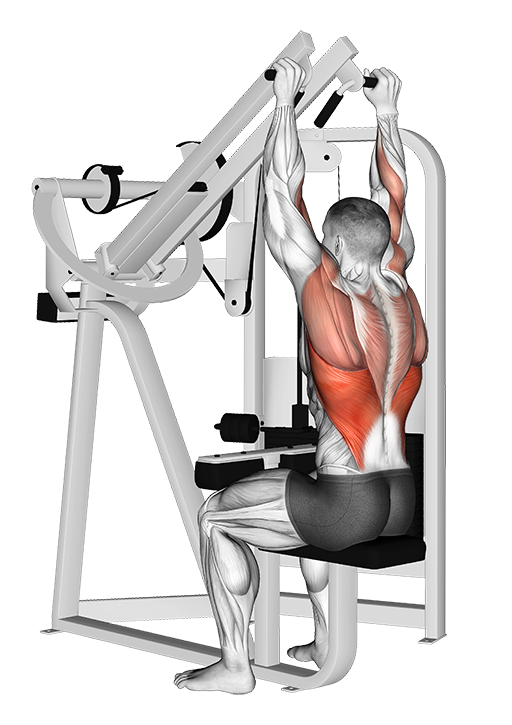
Lat Pulldown - Wide (Machine)
Lats
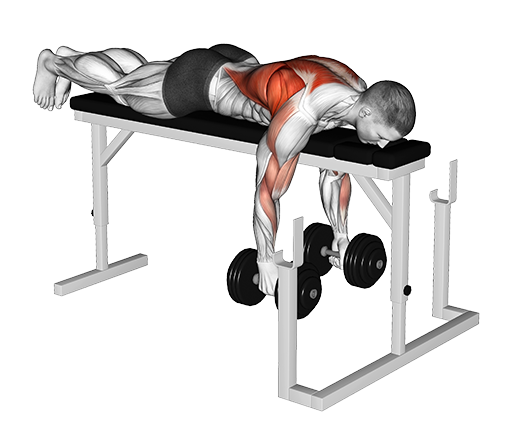
Parallel Row On Rack - Lying, Close-Grip (Dumbbell)
Lats
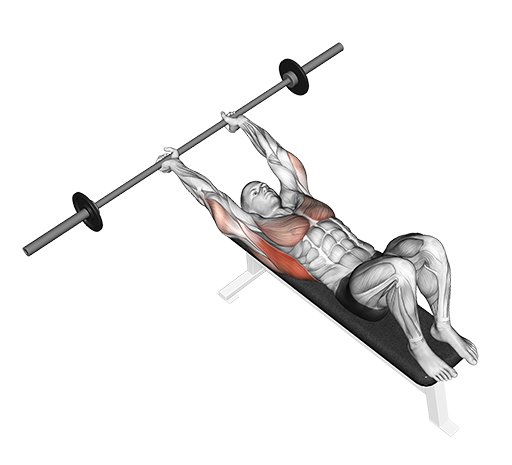
Pullover (Barbell)
Lats
_Back_medium_1.png&w=3840&q=75)
Pullover - Lying (Cable: Rope)
Lats
_Back_medium_1.png&w=3840&q=75)
Pullover (Machine: Plate Loaded)
Lats
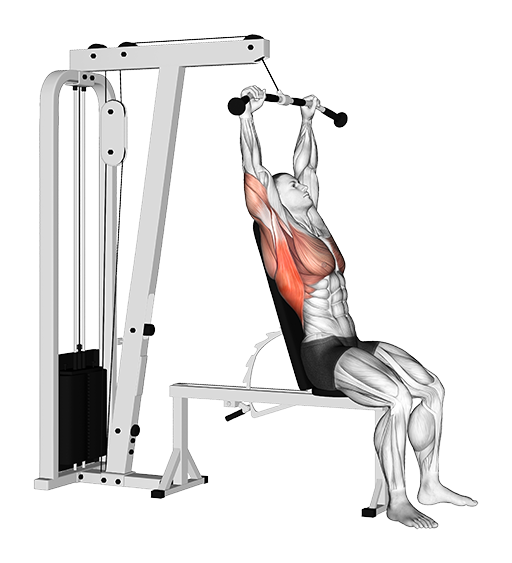
Pullover - Seated (Cable)
Lats
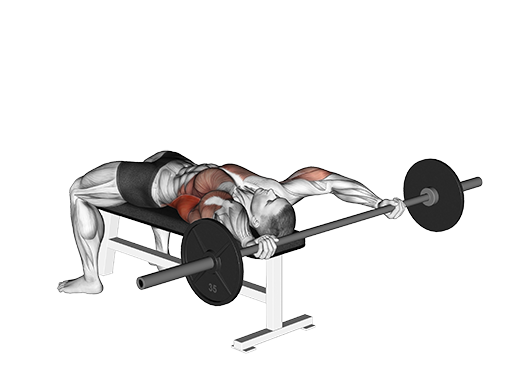
Pullover - Wide (Barbell)
Lats
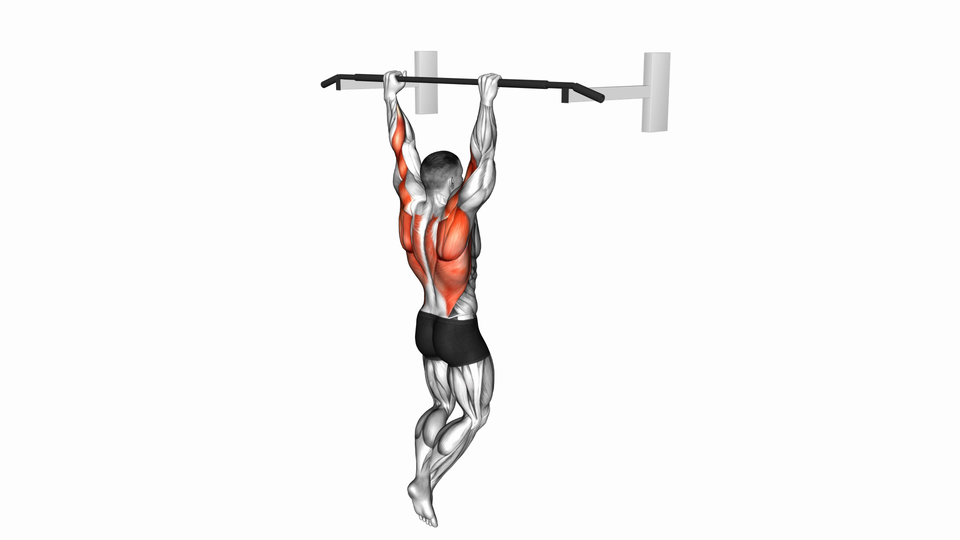
Pullup
Lats
_Back_medium_1.png&w=3840&q=75)
Pullup (Band Assisted)
Lats
_Back_medium_1.png&w=3840&q=75)
Pullup (Neutral Grip)
Lats
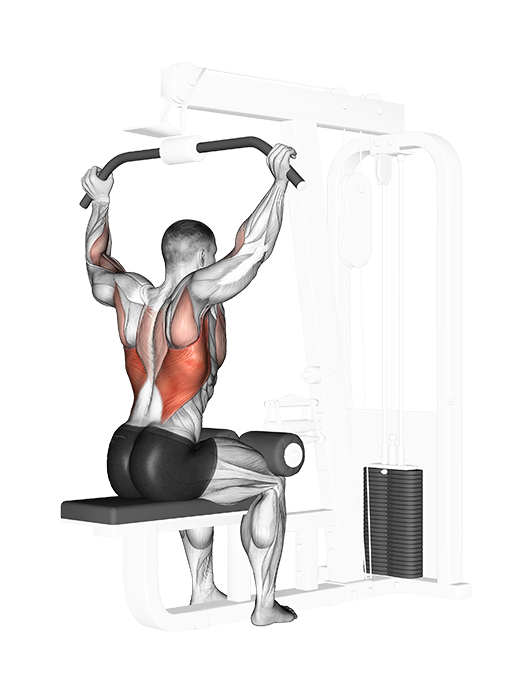
Rear Pulldown (Cable)
Lats
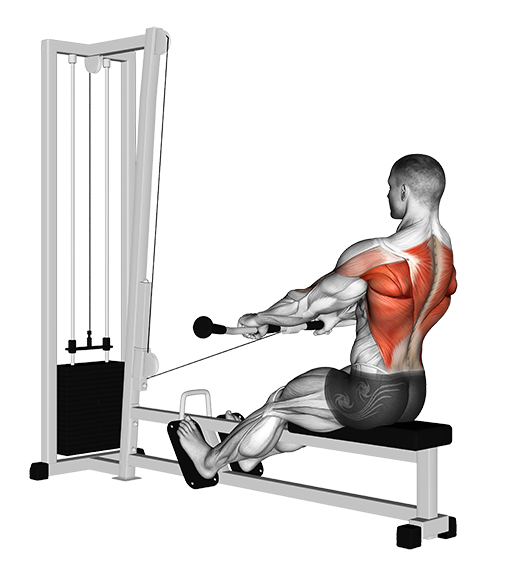
Row - Low, Seated (Cable)
Lats
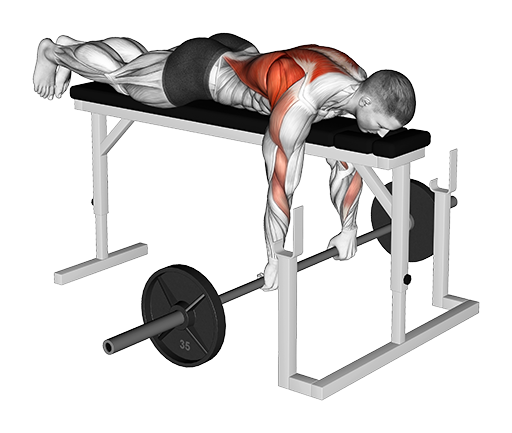
Row - Lying (Barbell)
Lats
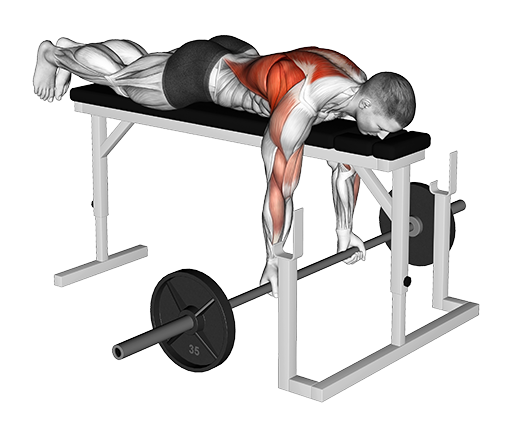
Row - Lying, Reverse (Barbell)
Lats
_Back_medium_1.png&w=3840&q=75)
Row (Machine: Plate Loaded)
Lats
_Back-FIX_medium_1.png&w=3840&q=75)
Row - Iso-Lateral, Neutral Grip, Seated
Lats
_Back_medium_1.png&w=3840&q=75)
Row - Reverse Grip, Seated (Machine: Plate Loaded)
Lats
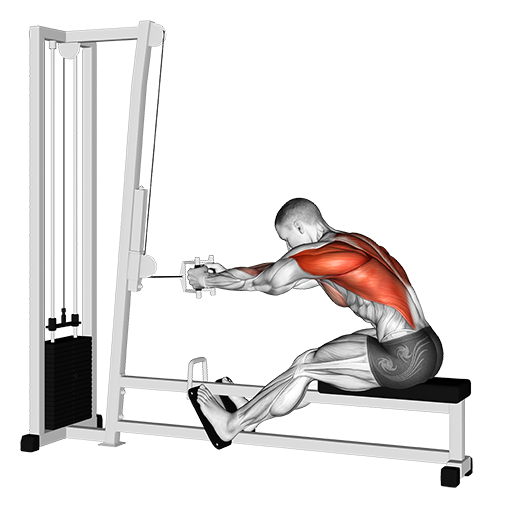
Row - Seated (Cable)
Lats
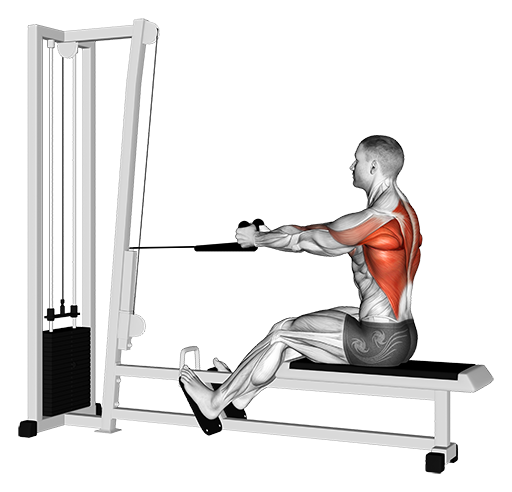
Row - Seated (Cable: Rope)
Upper Back / Rhomboids
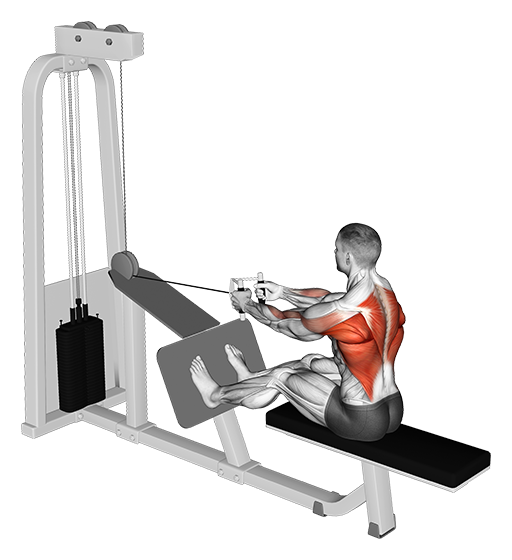
Row - Seated (Cable: V Bar)
Lats
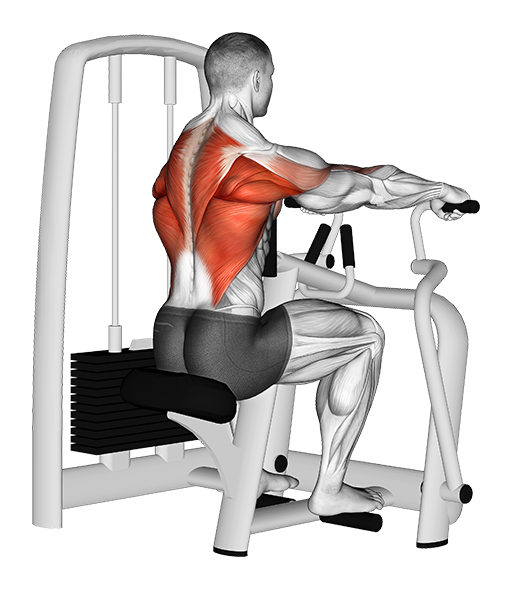
Row - Seated (Machine)
Lats
_Back_medium_1.png&w=3840&q=75)
Row - Seated (Machine: Plate Loaded)
Lats
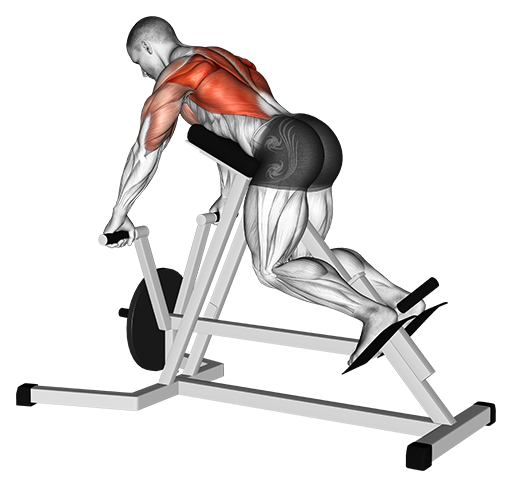
T-Bar Row - Chest Supported
Lats
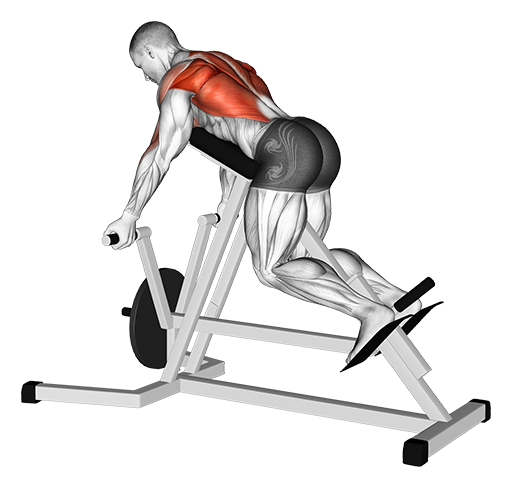
T-Bar Row - Reverse
Lats
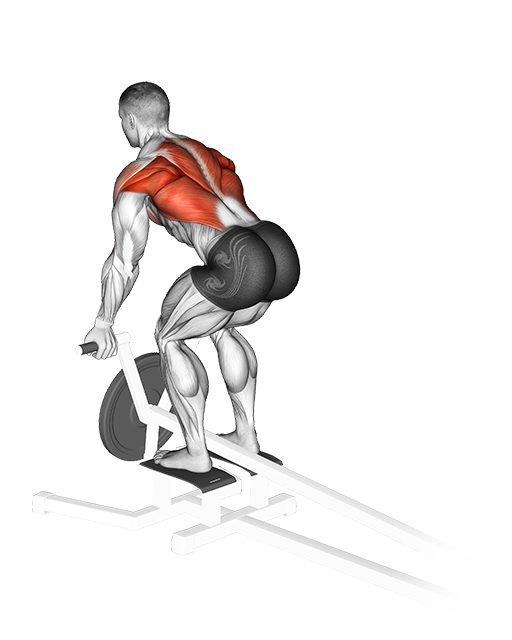
T-Bar Row - Reverse Grip (Machine)
Lats