← Back to library
Last updated March 9, 2026
AdductorsCalvesHamstringsQuadricepsAbductorsGlutesLatsLower BackTeres MajorTrapezius
Sumo Deadlift (Smith)
Set a wide stance in the Smith machine. Grip inside your legs. Drive your hips down and forward to lift the bar. Great for learning the sumo form safely.
Quick facts
- Level
- Intermediate
- Mechanic
- Compound
- Force
- Pull
- Type
- Strength
- Injury Risk
- Moderate
- Hypertrophy
- Very High
- Calorie Burn
- High
Muscle focus
Primary and secondary muscle groups targeted by this movement.
Primary
Quads
Secondary
Inner Thigh (large)
Equipment & setup
What you need and how to position yourself before starting.
Equipment
Smith Machine
Movement pattern
Bilateral
Posture
Standing
Tracking parameters
repsweight
Step-by-step instructions
Follow these cues to master proper technique and stay safe through every rep.
- Step 1Setup
- Position the Smith machine bar at an appropriate height, usually around mid-thigh level.
- Stand with your feet wider than shoulder-width apart, with your toes pointed slightly outward.
- Step 2Position Your Body
- Step under the bar and position it across your hips, ensuring it rests comfortably on your body.
- Engage your core and keep your back straight while setting your grip on the bar.
- Step 3Unrack the Bar
- Lift the bar off the safety catches by straightening your legs and standing tall.
- Take a step back to create space for the lift, ensuring your feet remain in the correct stance.
- Step 4Lower Your Body
- Bend your knees and lower your hips down and back, maintaining a straight back and engaged core.
- Keep your chest up and ensure your knees track over your toes as you descend.
- Step 5Lift the Bar
- Push through your heels to lift your body back up to the starting position.
- Squeeze your glutes at the top of the movement while keeping your core tight.
- Step 6Repeat
- Perform the desired number of repetitions, focusing on maintaining proper form throughout each rep.
- Step 7Finish the Exercise
- After completing your reps, carefully step forward to re-rack the bar onto the safety catches.
- Ensure you are stable before releasing your grip on the bar.
Alternatives & variations
Explore similar movements targeting the same muscles.
_Hips_medium_1.png&w=3840&q=75)
Bent Over Hip Extension (Band)
Glutes (max)
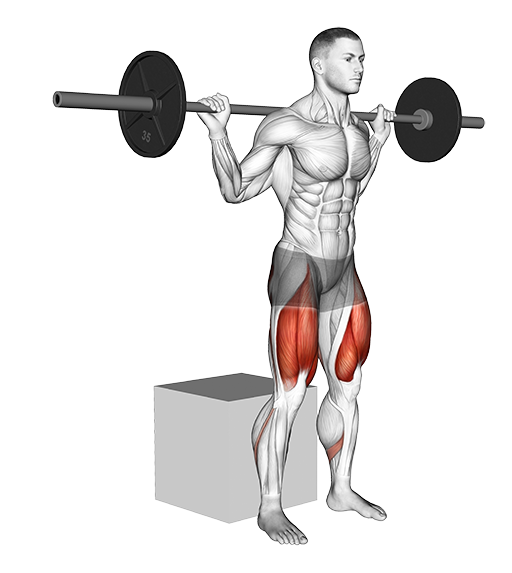
Box Squat (Barbell)
Quads
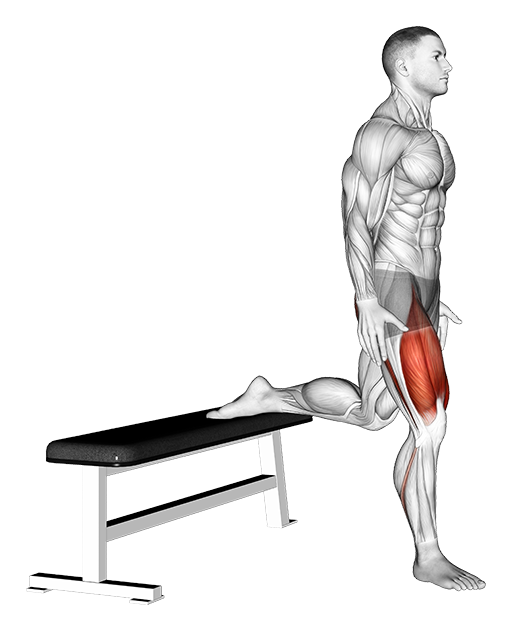
Bulgarian Split Squat (Bodyweight)
Quads
_Thighs_medium_1.png&w=3840&q=75)
Bulgarian Split Squat (Dumbbell)
Quads
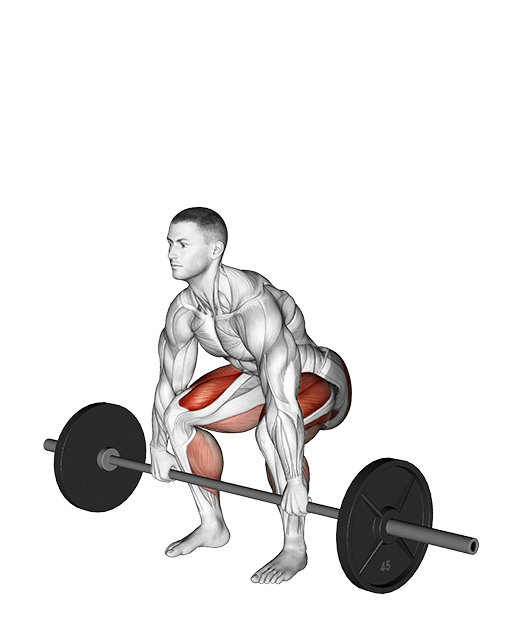
Deadlift (Barbell)
Hamstrings
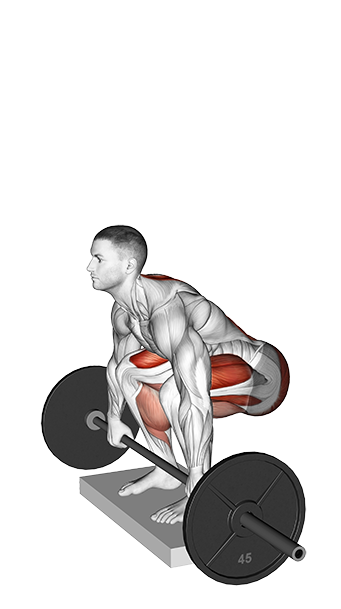
Deadlift - Deficit (Barbell)
Hamstrings
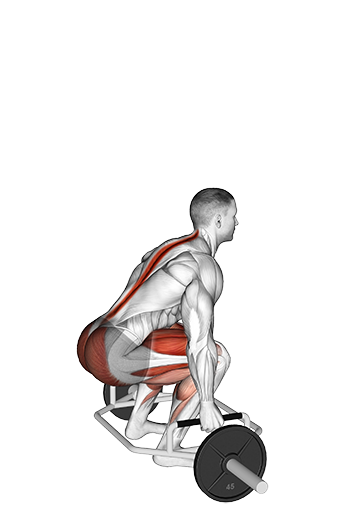
Deadlift - (Trap Bar)
Quads
_Hips_medium_1.png&w=3840&q=75)
Glute Kickback (Cable)
Glutes (max)
-(male)_Hips_medium_1.png&w=3840&q=75)
Frog Reverse Hyperextension
Glutes (max)
_Hips_medium_1.png&w=3840&q=75)
Glute Press (Machine)
Glutes (max)
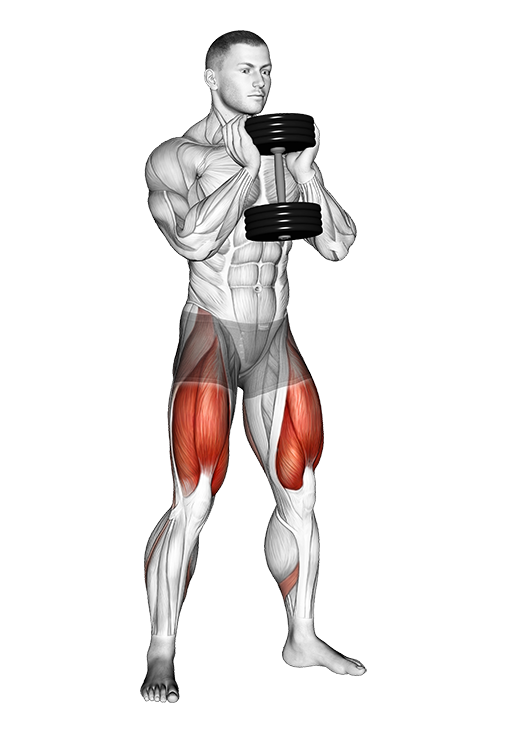
Goblet Squat (Dumbbell)
Quads
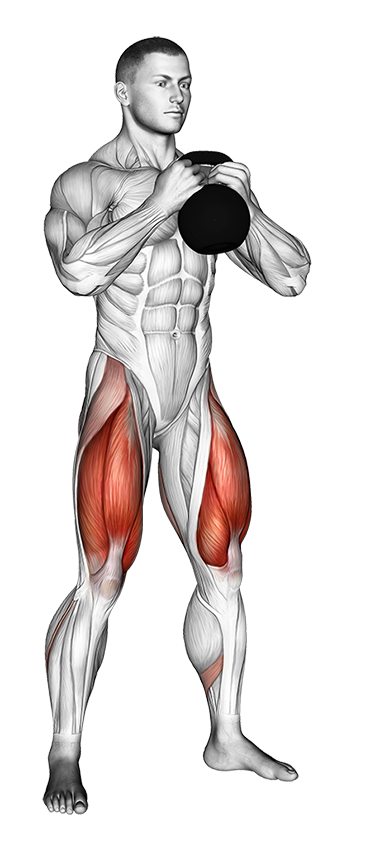
Goblet Squat (Kettlebell)
Quads
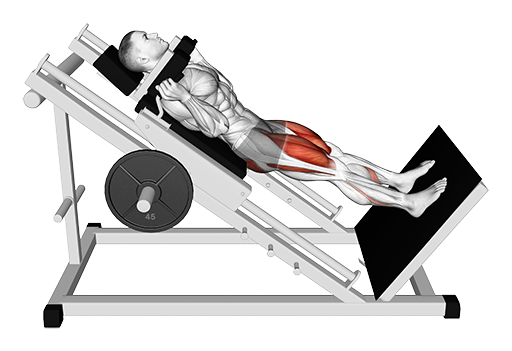
Hack Squat
Quads
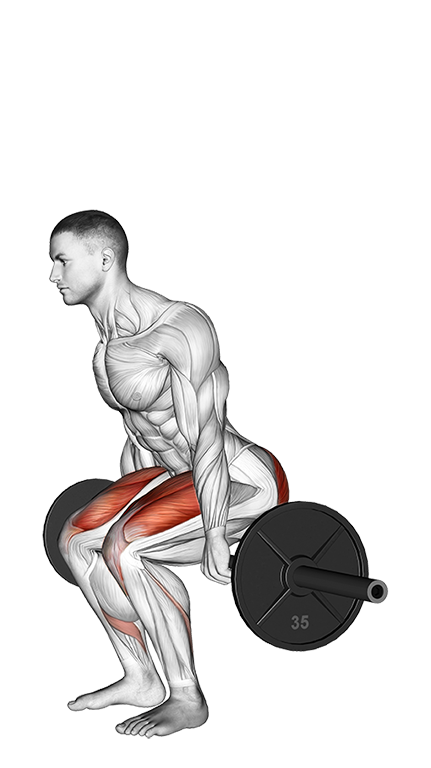
Hack Squat (Barbell)
Quads
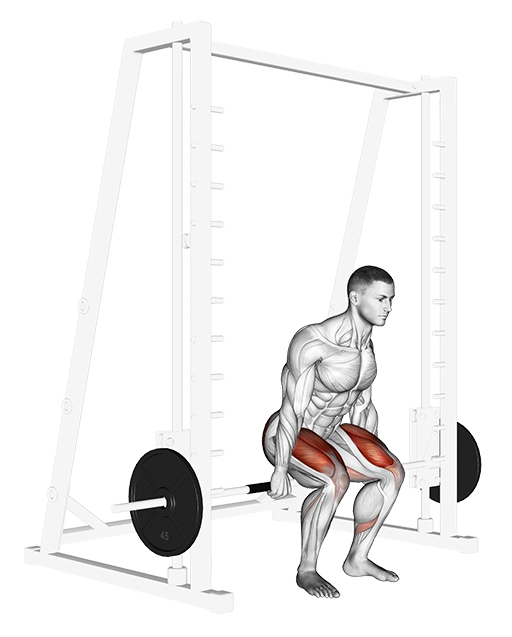
Hack Squat (Smith)
Quads
_Hips_medium_1.png&w=3840&q=75)
Hip Extension (v2) (Machine)
Glutes (max)
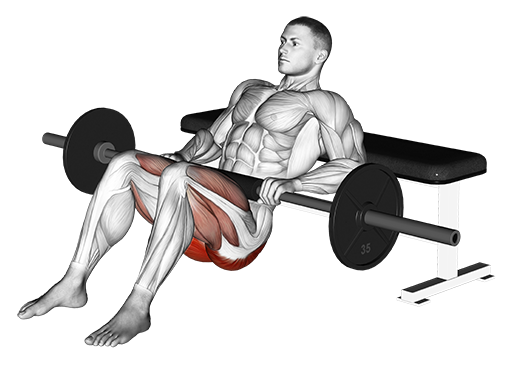
Hip Thrust (Barbell)
Glutes (max)
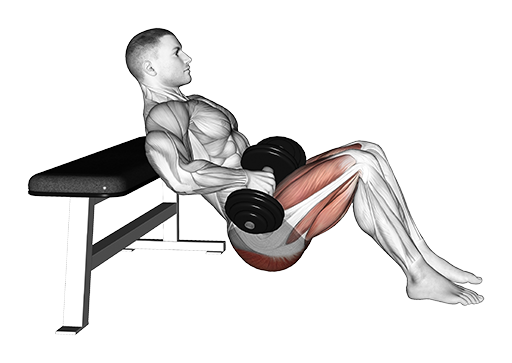
Hip Thrust (Dumbbell)
Glutes (max)
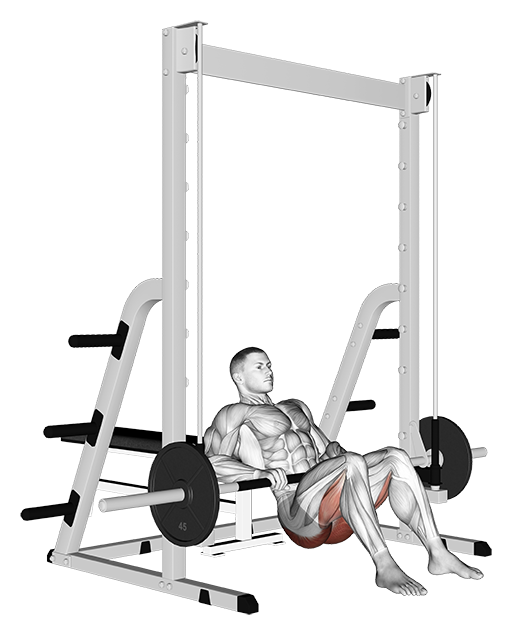
Hip Thrust (Smith)
Glutes (max)
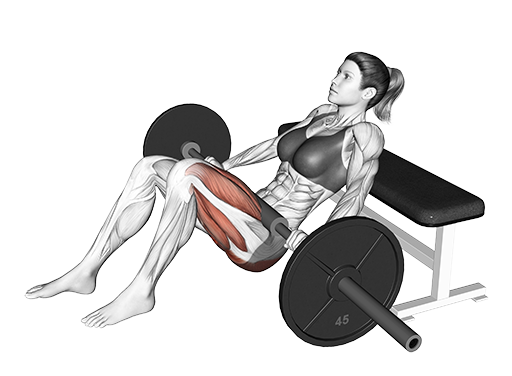
Hip Thrust - Staggered Stance (Barbell)
Glutes (max)
-(left)_Hips_medium_1.png&w=3840&q=75)
Kickback - Kneeling, Straight Leg
Glutes (max)
_Hips_medium_1.png&w=3840&q=75)
Landmine Deadlift
Hamstrings
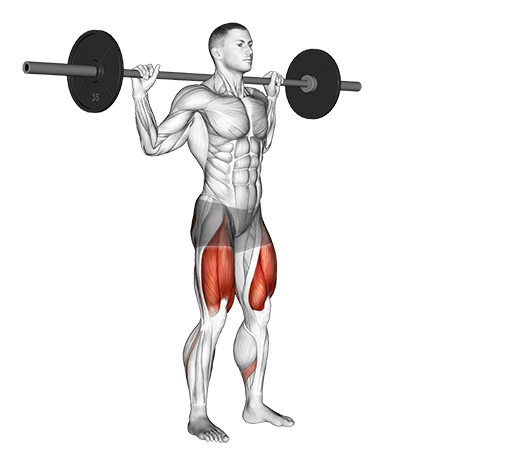
Lateral Lunge (Barbell)
Quads
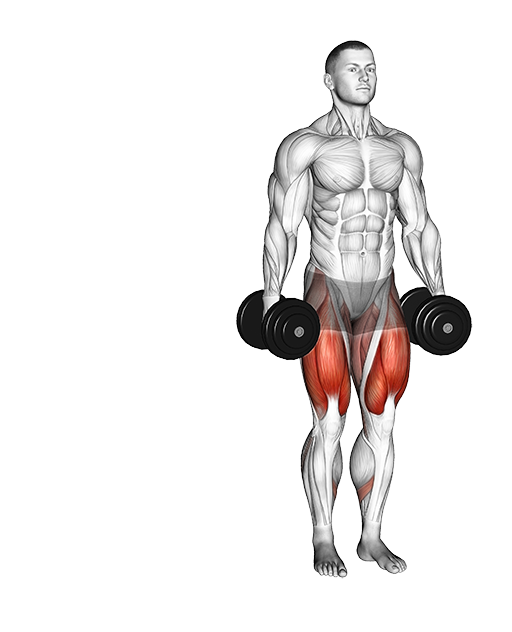
Lateral Lunge (Dumbbell)
Quads
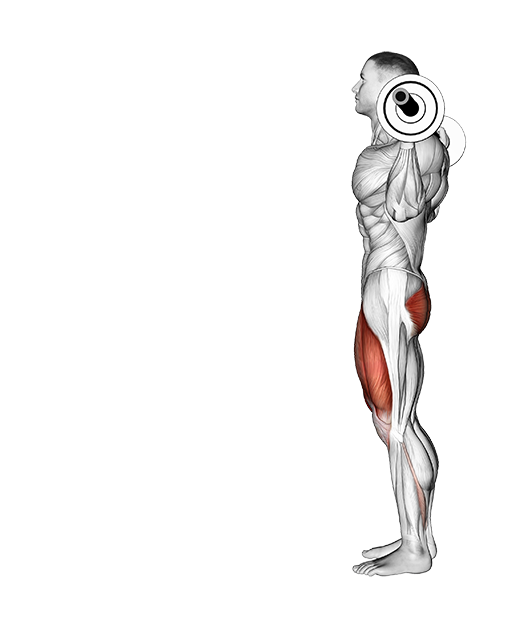
Lunge (Barbell)
Quads
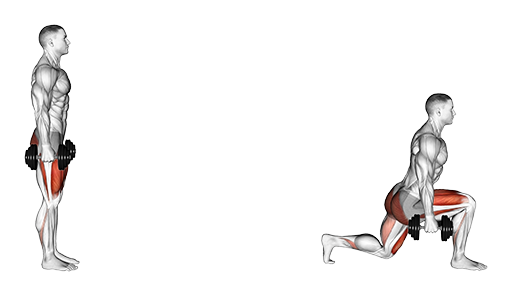
Walking Lunge (Dumbbell)
Quads
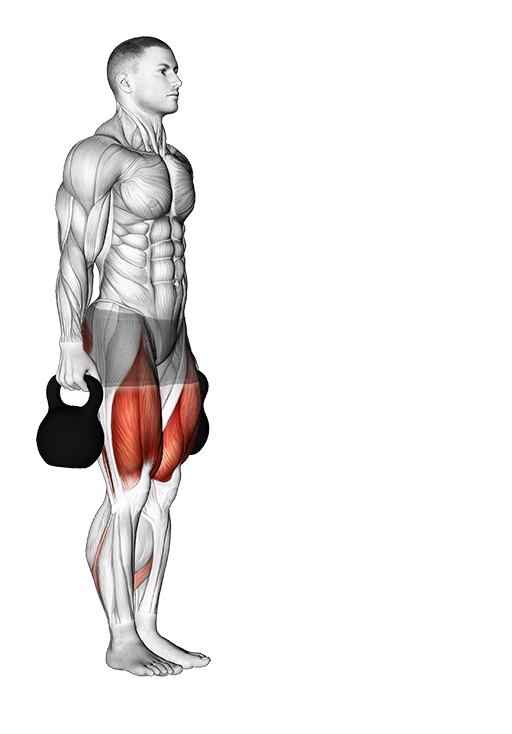
Lunge - Forward (Kettlebell)
Quads
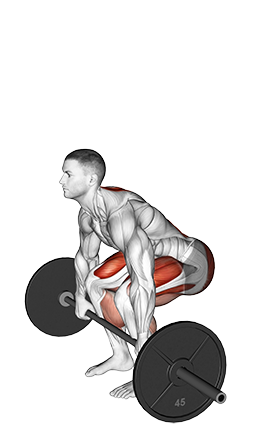
Pause Deadlift (Barbell)
Hamstrings
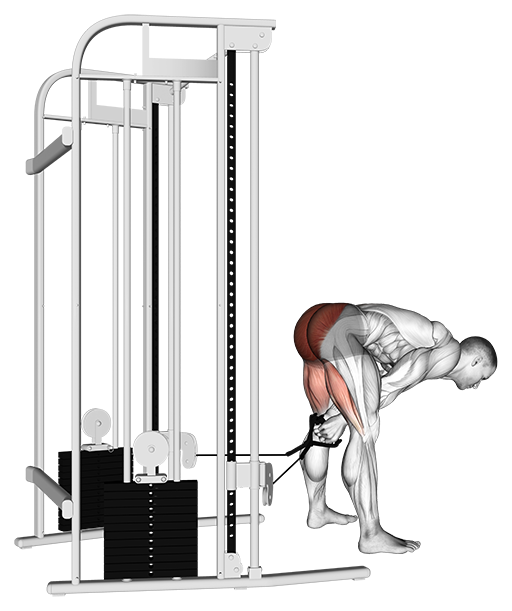
Pull Through (Cable)
Glutes (max)
_Hip_medium_1.png&w=3840&q=75)
Pull Through (Cable: Rope)
Glutes (max)
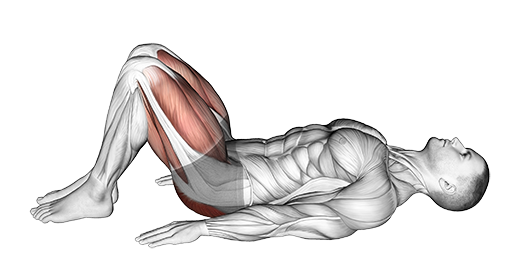
Rear Decline Bridge
Glutes (max)
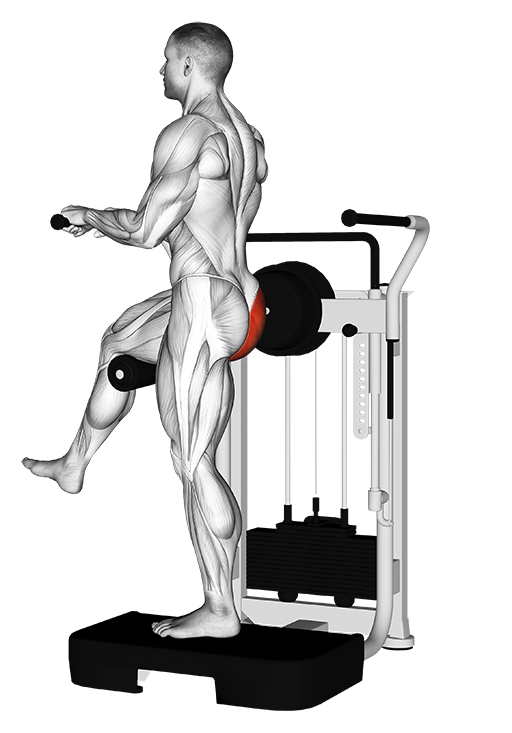
Rear Kick - Standing (Machine)
Glutes (max)
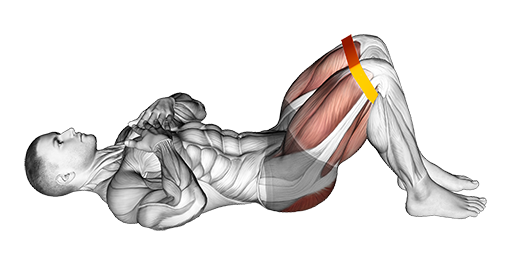
Resistance Glute Bridge (Band)
Glutes (max)
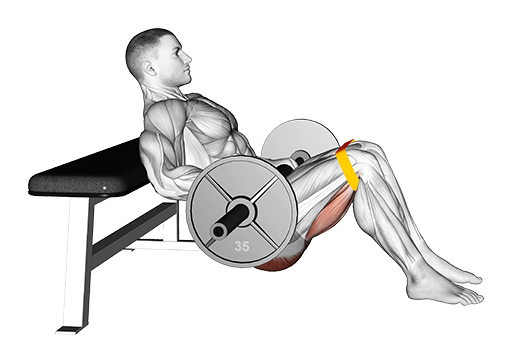
Resistance Hip Thrust (Barbell)
Glutes (max)
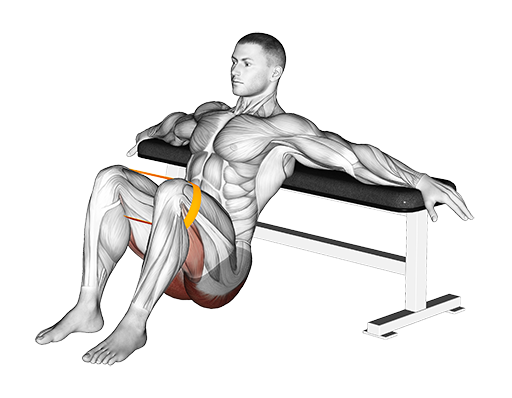
Resistance Hip Thrusts (Band)
Glutes (max)
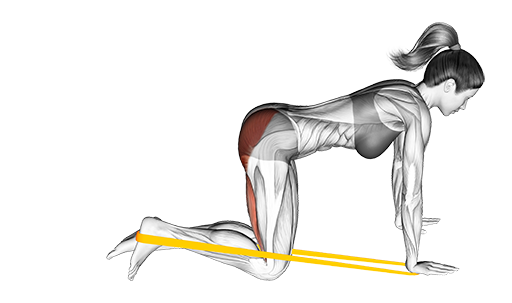
Resistance Leg Kickback (Band)
Glutes (max)
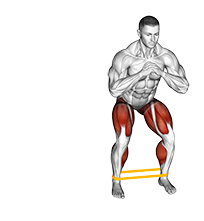
Resistance Shuttle (Band)
Quads
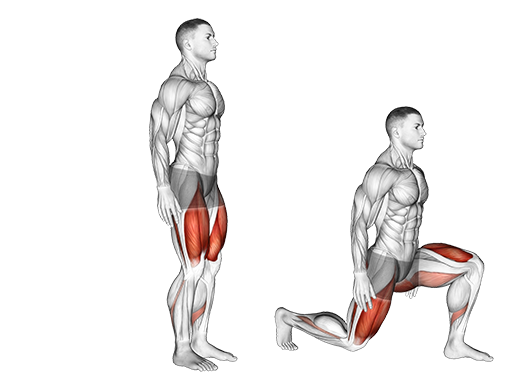
Reverse Lunge (Bodyweight)
Quads
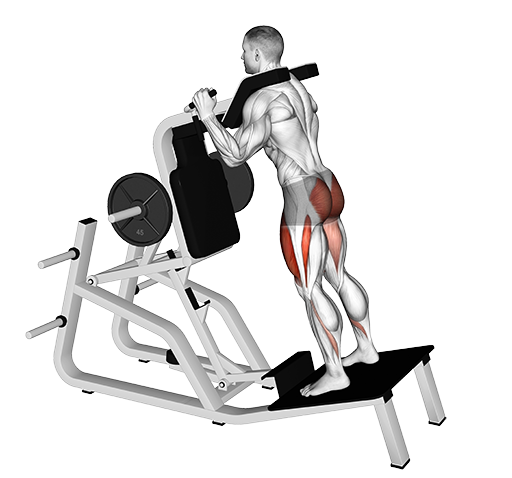
Reverse Vertical Hack Squat (Machine)
Quads
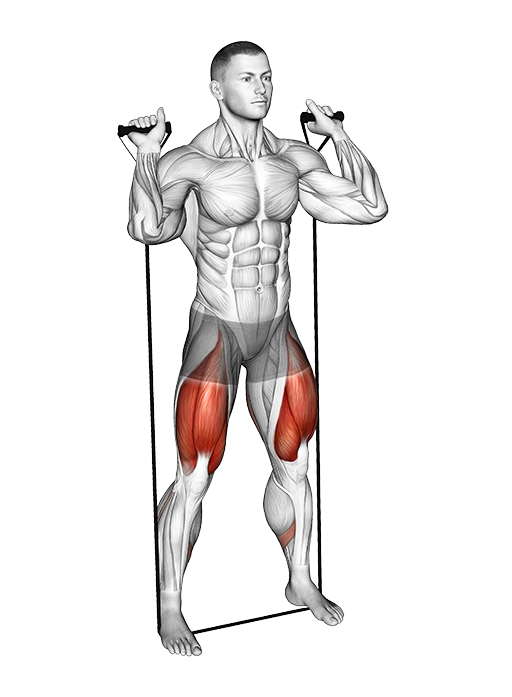
Squat (Band)
Quads
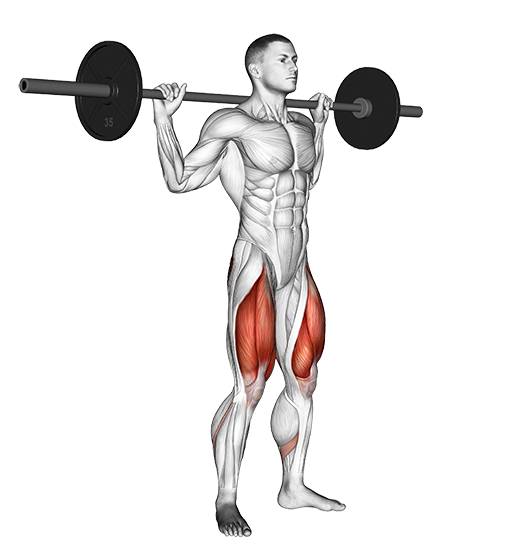
Squat (Barbell)
Quads
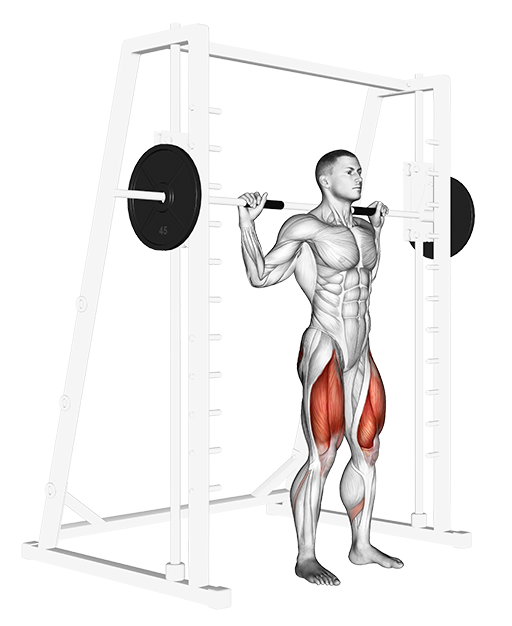
Squat (Smith)
Quads
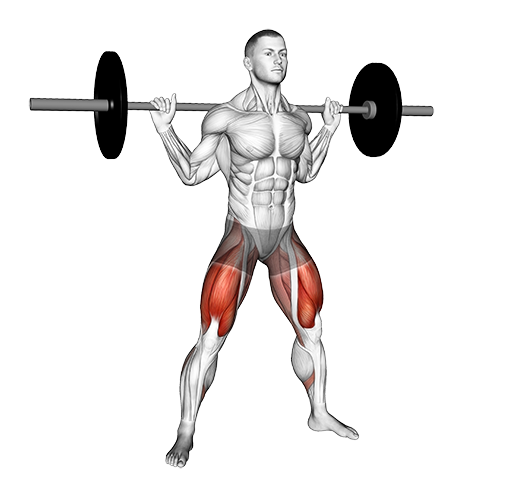
Squat - Wide (Barbell)
Quads
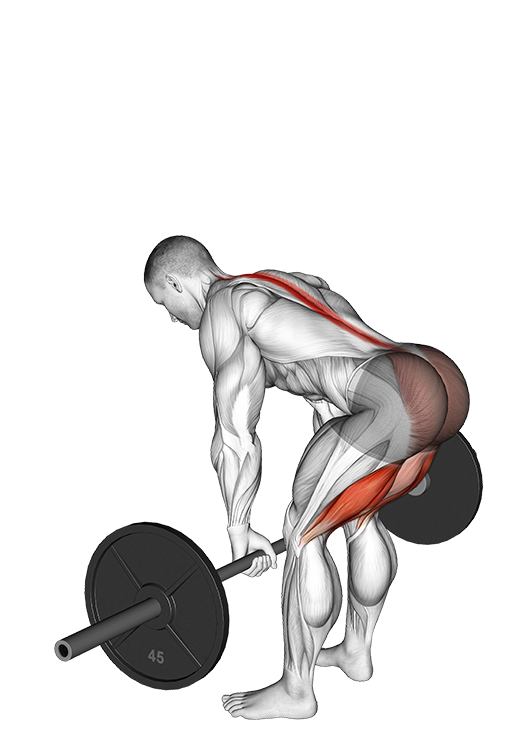
Straight Leg Deadlift (SDL) (Barbell)
Hamstrings
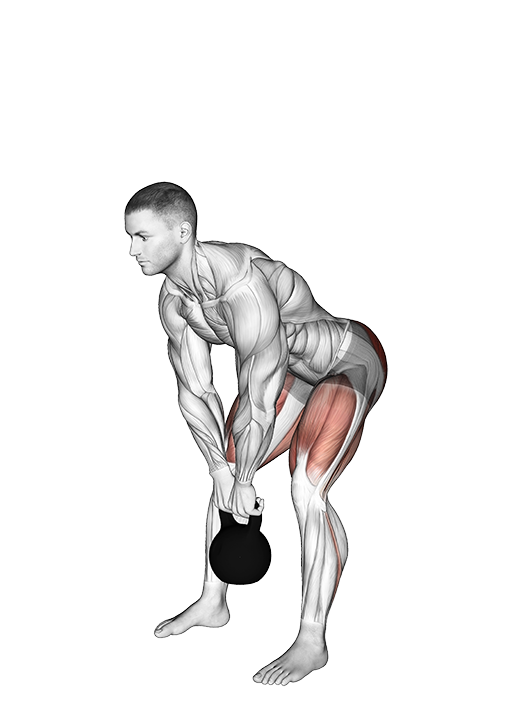
Straight Leg Deadlift (SDL) (Kettlebell)
Hamstrings
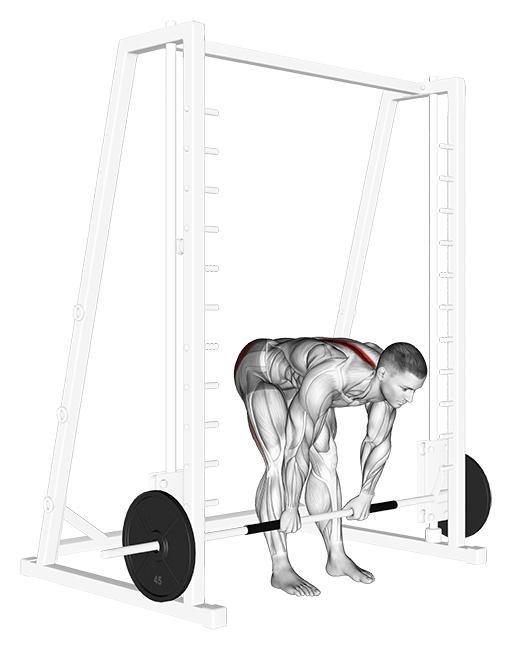
Straight Leg Deadlift (SDL) (Smith)
Hamstrings
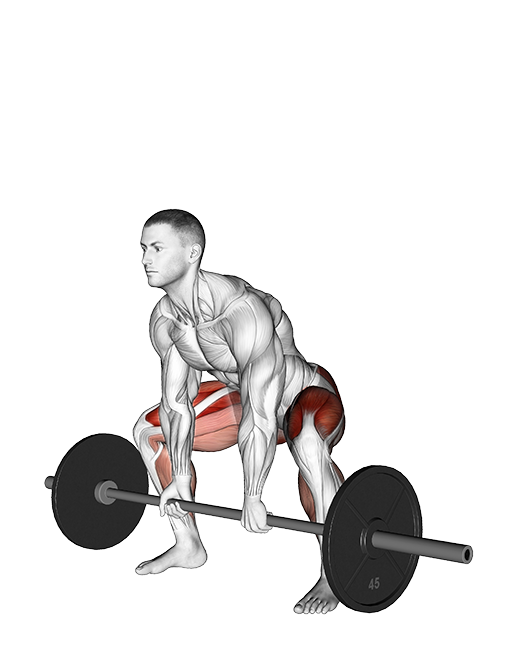
Sumo Deadlift (Barbell)
Quads
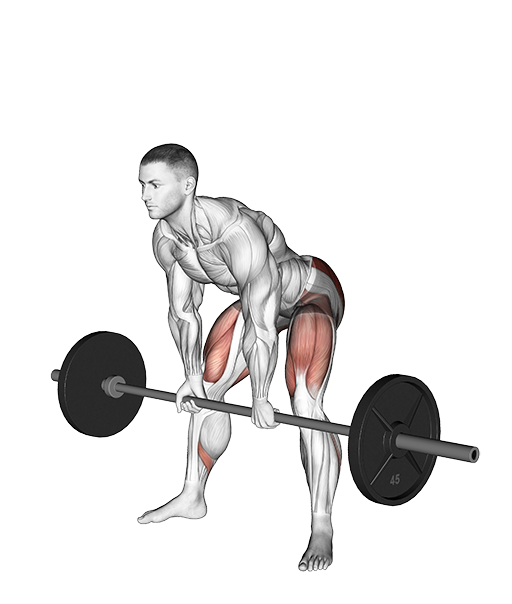
Sumo Romanian Deadlift (Barbell)
Hamstrings
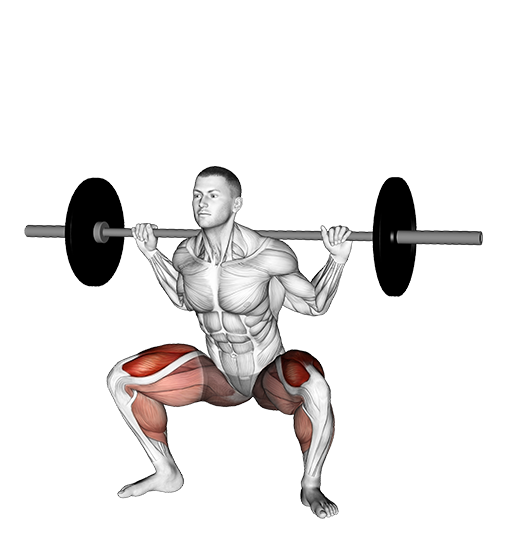
Sumo Squat (Barbell)
Quads
_Thighs-FIX_medium_1.png&w=3840&q=75)
Sumo Squat (Dumbbell)
Quads
_Hips_medium_1.png&w=3840&q=75)
Sumo Squat (Kettlebell)
Quads
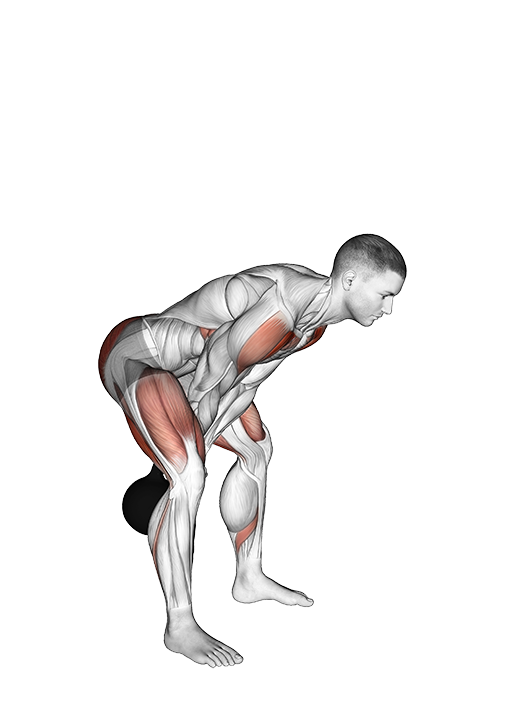
Swing (Kettlebell)
Glutes (max)
_Hips_medium_1.png&w=3840&q=75)
Zercher Back Extension (Barbell)
Lower Back