← Back to library
Last updated March 2, 2026
LatsLower BackTeres MajorTrapezius
Chin Up (Assisted)
Kneel on pad. Pull yourself up with underhand grip. Squeeze biceps and lats.
Quick facts
- Level
- Intermediate
- Mechanic
- Compound
- Force
- Pull
- Type
- Strength
- Injury Risk
- Low
- Hypertrophy
- Medium
- Calorie Burn
- Medium
Muscle focus
Primary and secondary muscle groups targeted by this movement.
Primary
Lats
Secondary
Biceps
Equipment & setup
What you need and how to position yourself before starting.
Equipment
Assisted
Movement pattern
Bilateral
Posture
Hanging
Tracking parameters
repsminus_weight
Step-by-step instructions
Follow these cues to master proper technique and stay safe through every rep.
- Step 1Setup
- Approach the assisted chin-up machine and adjust the knee pad to a comfortable height.
- Ensure that the weight is set to a level that provides assistance for your body weight.
- Step 2Grab the Handles
- Stand on the platform and grasp the handles with an underhand grip (palms facing you).
- Position your hands shoulder-width apart for optimal grip.
- Step 3Position Your Body
- Kneel on the knee pad, ensuring your knees are securely positioned under the pad.
- Engage your core and keep your body straight, avoiding any excessive arching or leaning.
- Step 4Pull Up
- Begin the movement by pulling your body upward, focusing on using your arms and back.
- Keep your elbows close to your body as you pull yourself up towards the handles.
- Step 5Reach the Top
- Continue pulling until your chin is above the handles, squeezing your shoulder blades together at the top.
- Hold the position for a brief moment to maximize the contraction.
- Step 6Lower Down
- Slowly lower your body back down to the starting position, fully extending your arms.
- Maintain control throughout the descent to avoid dropping too quickly.
- Step 7Repeat
- Repeat the pull-up and lower-down motion for the desired number of repetitions.
- Focus on maintaining proper form throughout each rep.
- Step 8Finish the Exercise
- After completing your reps, carefully step off the machine and adjust the knee pad back to its original position.
- Take a moment to stretch your arms and back after the workout.
Alternatives & variations
Explore similar movements targeting the same muscles.
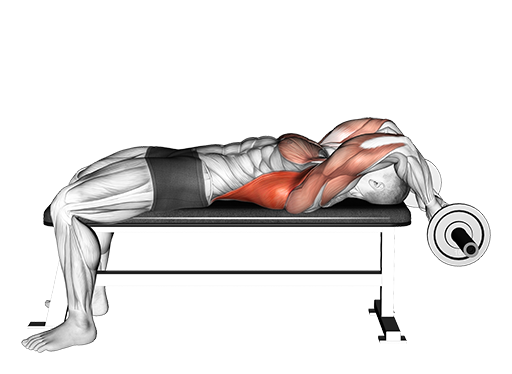
Bent Arms Pullover - Lying (EZ Bar)
Lats
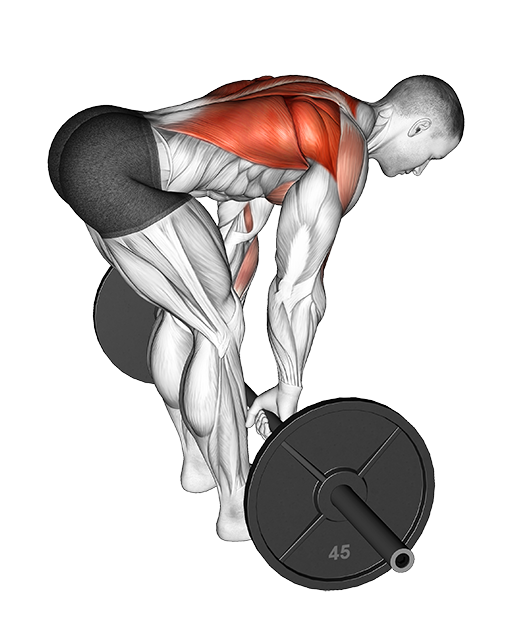
Bent Over Row (Barbell)
Lats
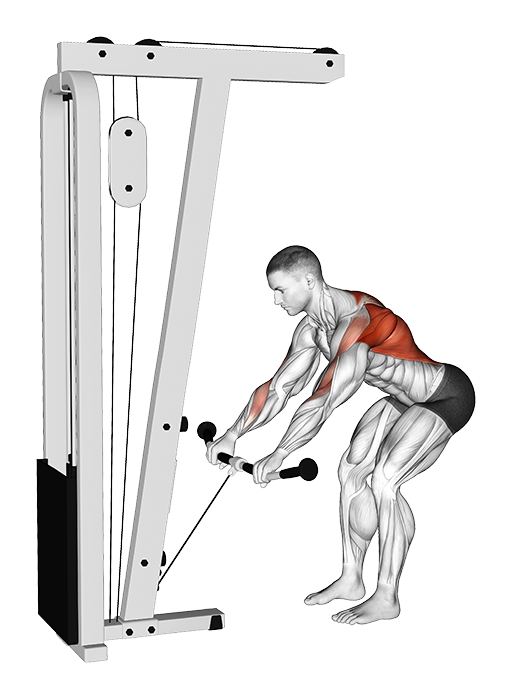
Bent Over Row (Cable)
Lats
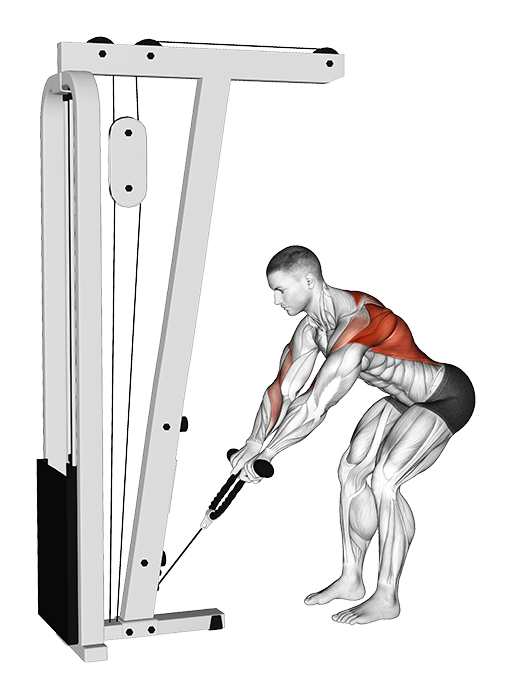
Bent Over Row (Cable: Rope)
Lats
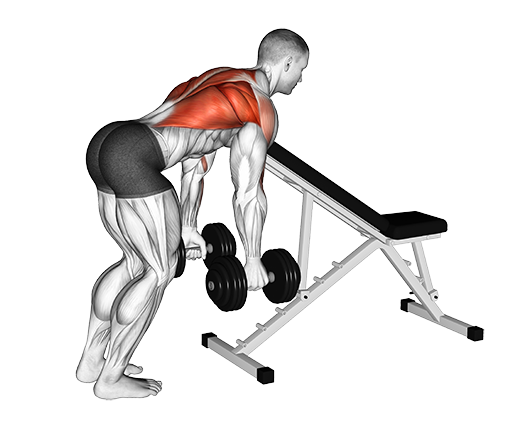
Bent Over Row - Chest Supported (Dumbbell)
Mid Traps
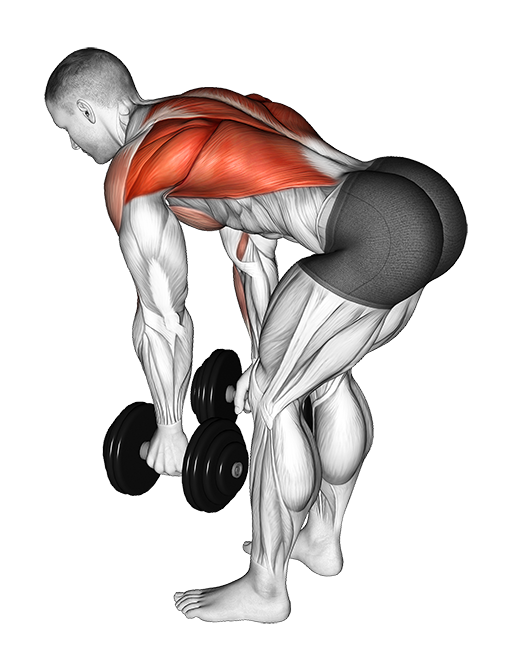
Bent Over Row (Dumbbell)
Lats
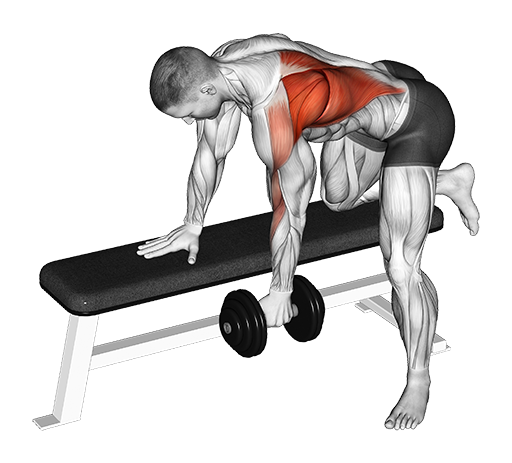
Bent Over Row - One Arm (Dumbbell)
Lats
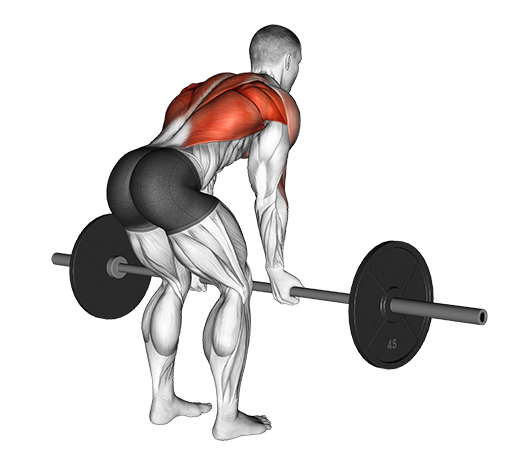
Bent Over Row - Reverse Grip (Barbell)
Lats
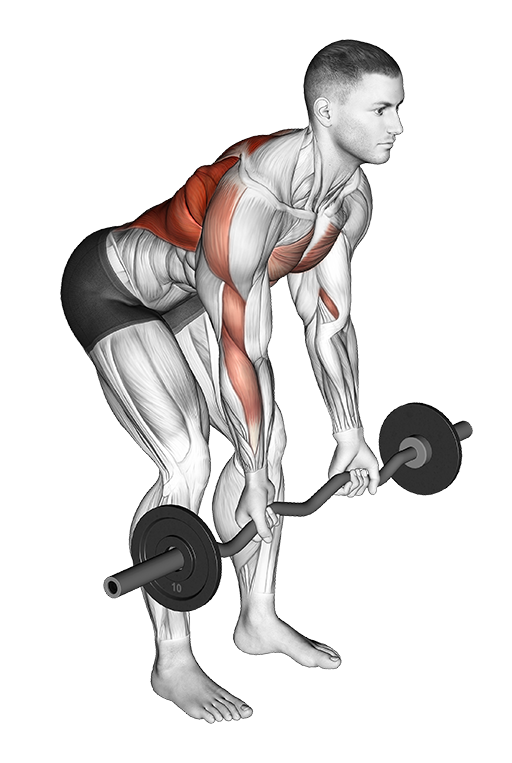
Bent Over Row - Reverse Grip (EZ Bar)
Lats
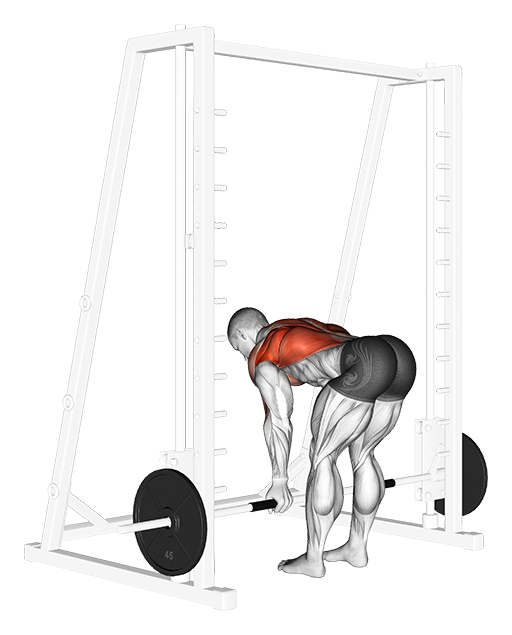
Bent Over Row - Reverse Grip (Smith)
Lats
_Back_medium_1.png&w=3840&q=75)
Bent Over Row - Single Arm (Dumbbell)
Lats
_Back-FIX_medium_1.png&w=3840&q=75)
Bent Over Row (Smith)
Lats
_Back_medium_1.png&w=3840&q=75)
Bent Over Row - (Trap Bar)
Lats
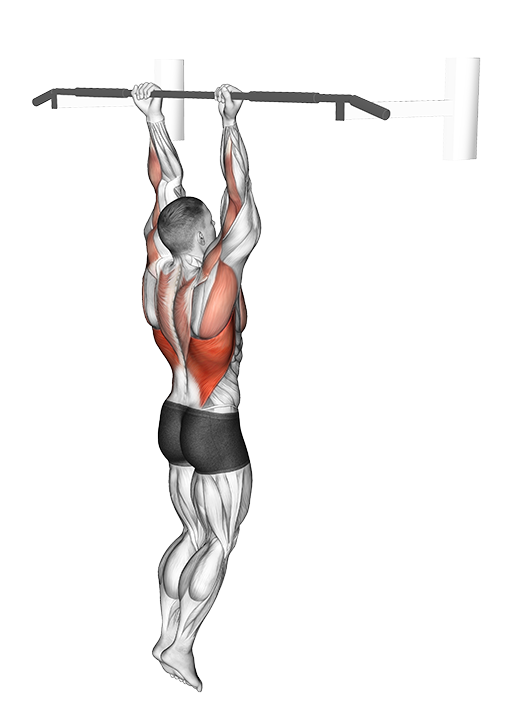
Chin Up
Lats
-(VERSION-2)_Back_medium_1.png&w=3840&q=75)
High Row (Machine: Plate Loaded)
Upper Back / Rhomboids
_Back_medium_1.png&w=3840&q=75)
High Row - Iso-Lateral, Reverse Grip
Lats
_Back_medium_1.png&w=3840&q=75)
High Row - Seated (Cable: V-Bar)
Lats
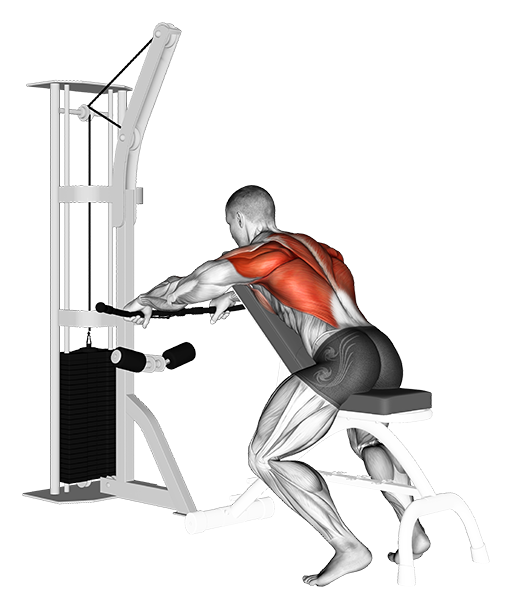
Incline Bench Row (Cable)
Lats
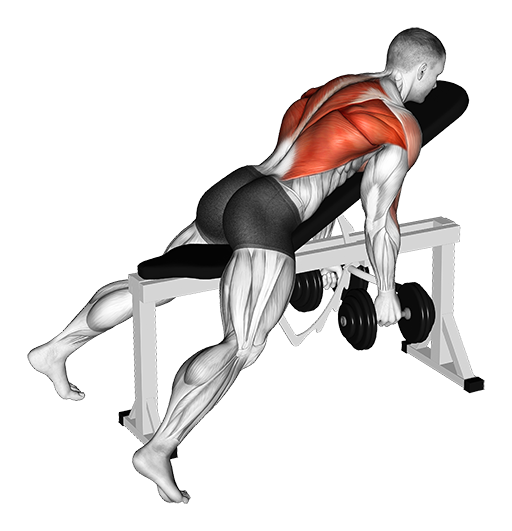
Incline Bench Row - Hammer Grip (Dumbbell)
Lats
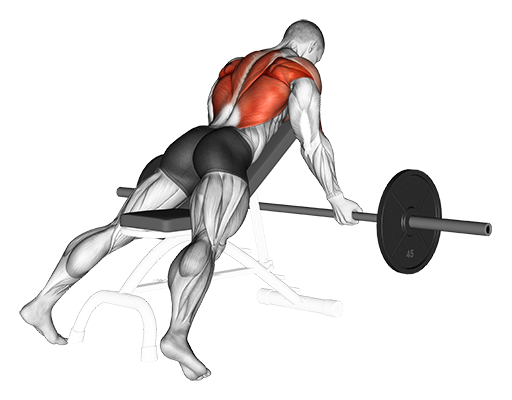
Incline Bench Row - Reverse Grip (Barbell)
Lats
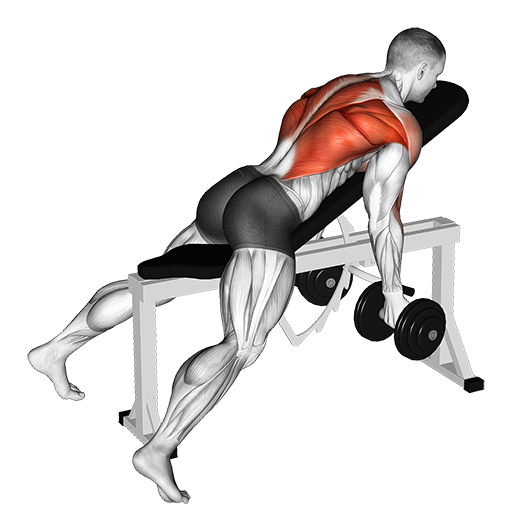
Incline Bench Row - Reverse Grip (Dumbbell)
Lats
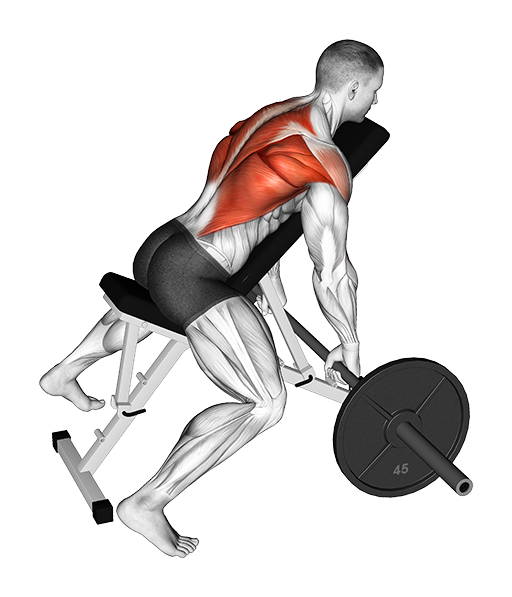
Incline Row (Barbell)
Lats
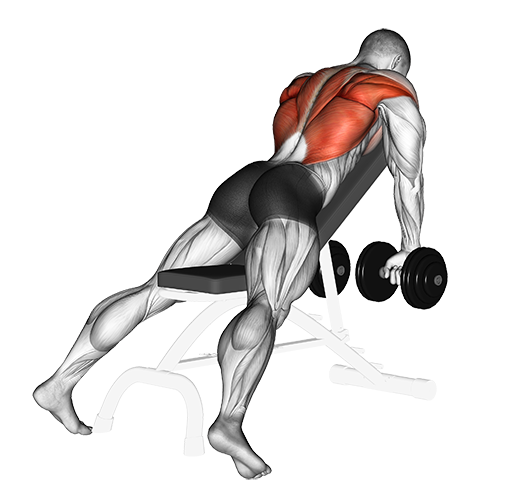
Incline Row (Dumbbell)
Lats
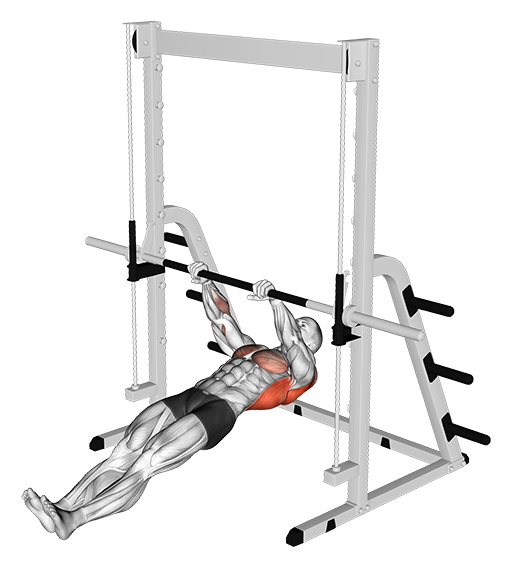
Inverted Row
Lats
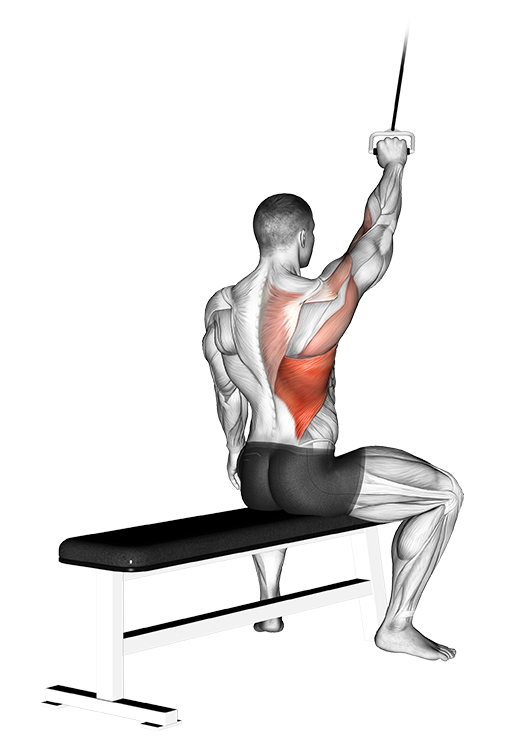
Lat Pulldown - Alternate
Lats
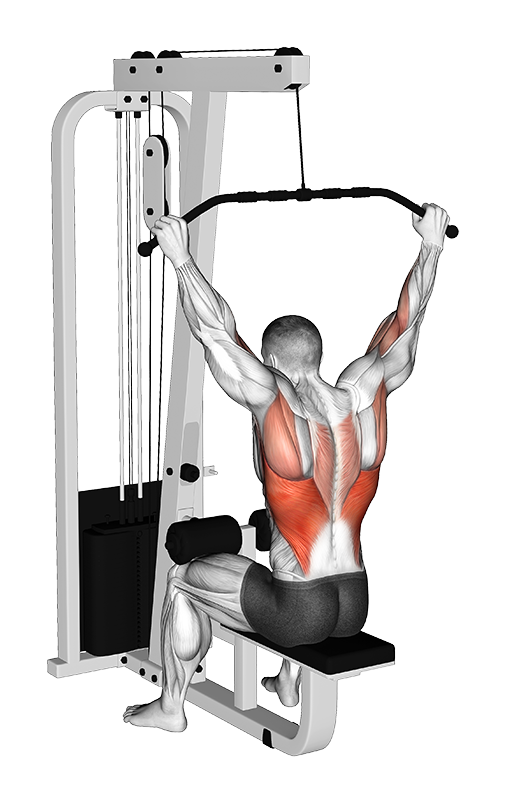
Lat Pulldown - Behind Neck, Wide Grip (Cable)
Lats
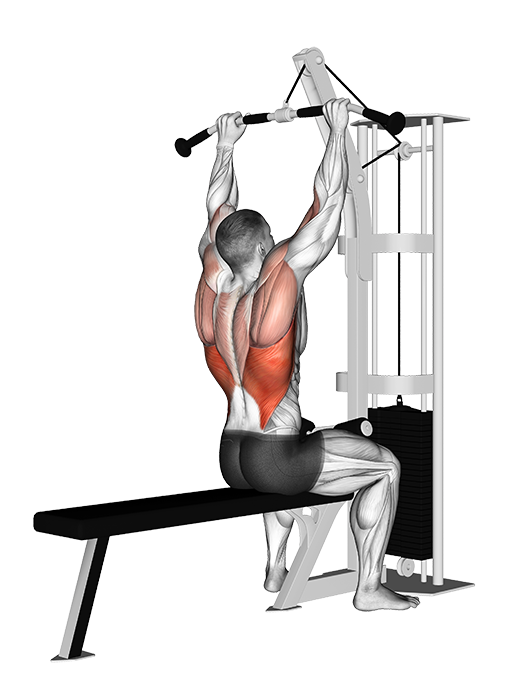
Lat Pulldown (Cable)
Lats
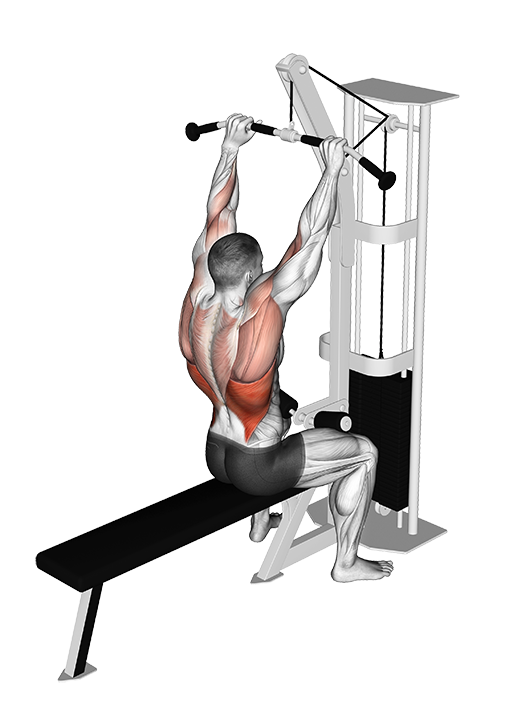
Lat Pulldown (Cable: Bar)
Lats
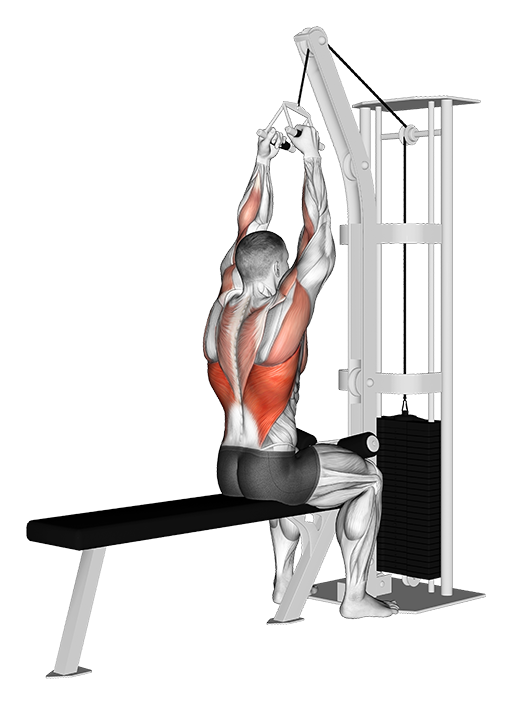
Lat Pulldown (Cable: V-Bar)
Lats
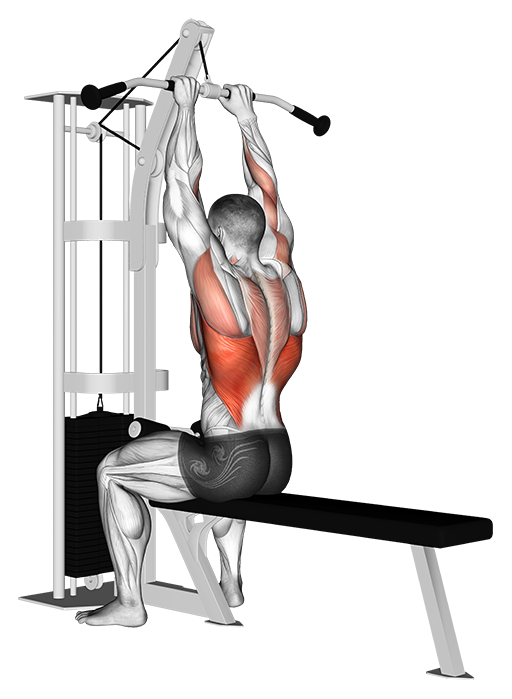
Lat Pulldown - Close Grip (Cable)
Lats
_Back_medium_1.png&w=3840&q=75)
Lat Pulldown - Cross (Machine)
Lats
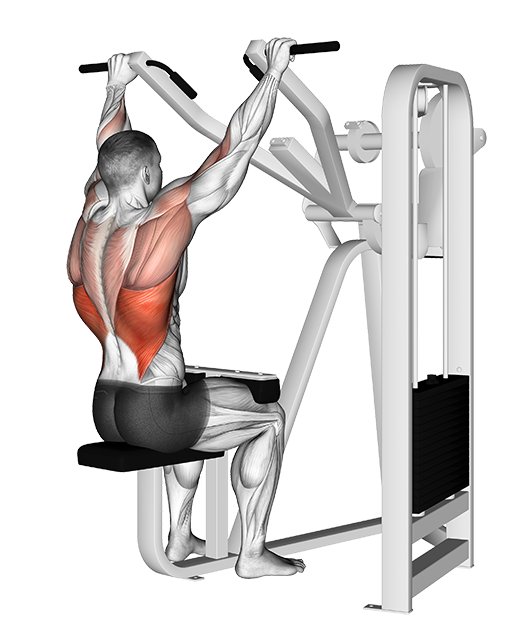
Lat Pulldown (Machine)
Lats
_Back_medium_1.png&w=3840&q=75)
Lat Pulldown (Machine: Plate Loaded)
Lats
_Back_medium_1.png&w=3840&q=75)
Lat Pulldown - Neutral Grip (Cable)
Lats
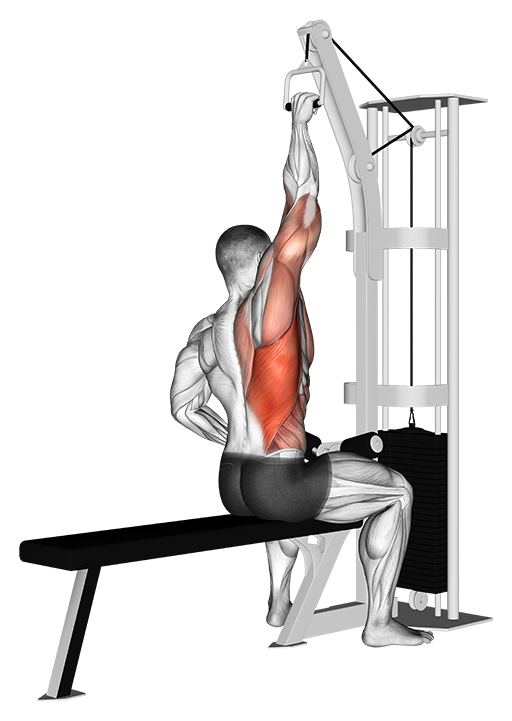
Lat Pulldown - One Arm (Cable)
Lats
_Back_medium_1.png&w=3840&q=75)
Lat Pulldown - One Arm, Wide (Machine: Plate Loaded)
Lats
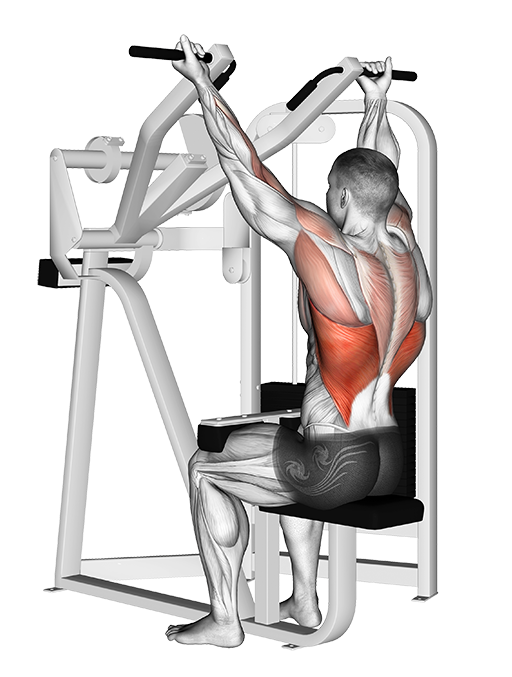
Lat Pulldown - Reverse Grip
Lats
_Back_medium_1.png&w=3840&q=75)
Lat Pulldown - Reverse Grip (Machine: Plate Loaded)
Lats
_Back-FIX_medium_1.png&w=3840&q=75)
Lat Pulldown - Straight Arm (Cable: Rope)
Lats
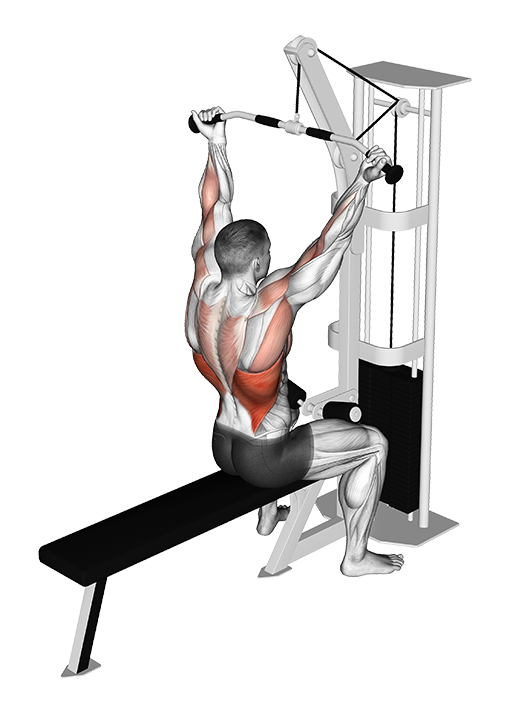
Lat Pulldown - Underhand (Cable)
Lats
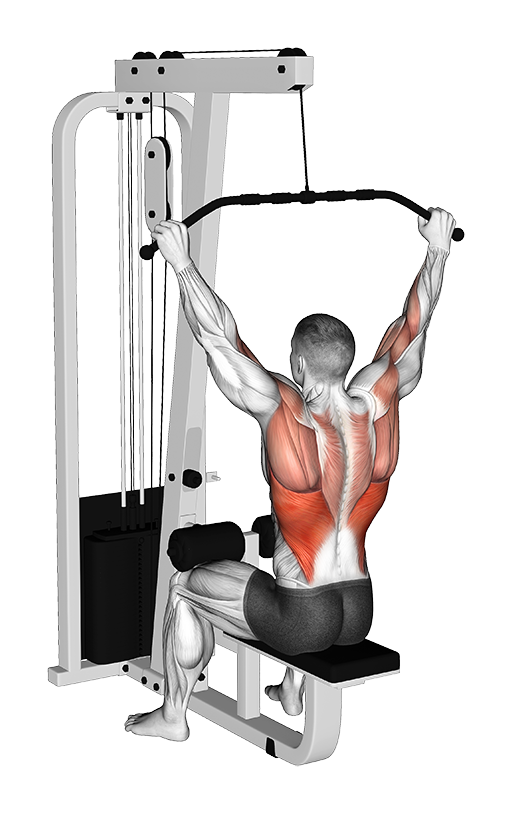
Lat Pulldown - Wide Grip (Cable)
Lats
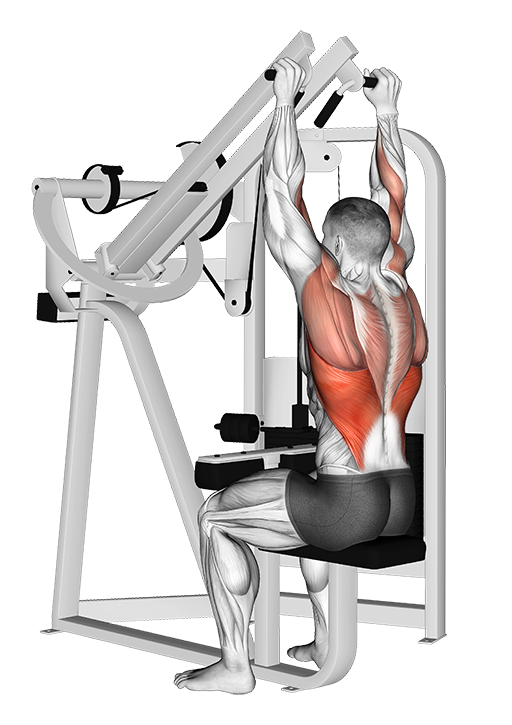
Lat Pulldown - Wide (Machine)
Lats
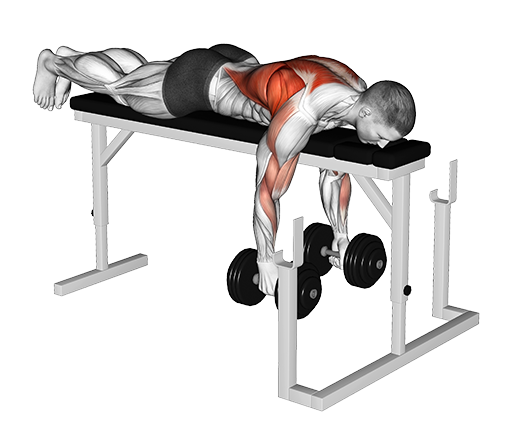
Parallel Row On Rack - Lying, Close-Grip (Dumbbell)
Lats
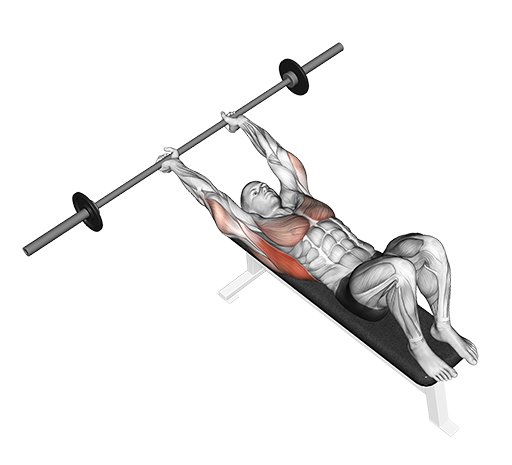
Pullover (Barbell)
Lats
_Back_medium_1.png&w=3840&q=75)
Pullover - Lying (Cable: Rope)
Lats
_Back_medium_1.png&w=3840&q=75)
Pullover (Machine: Plate Loaded)
Lats
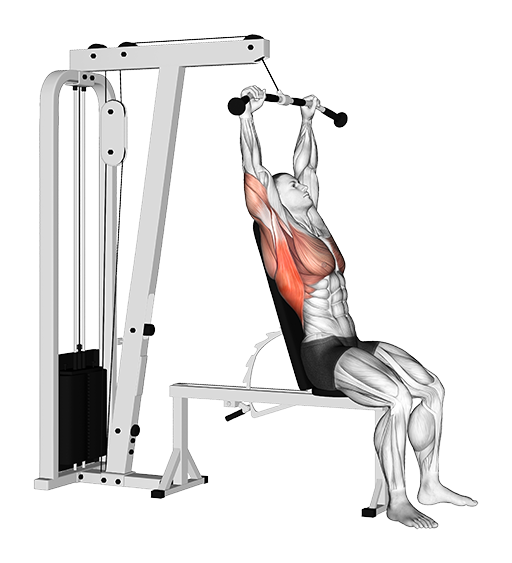
Pullover - Seated (Cable)
Lats
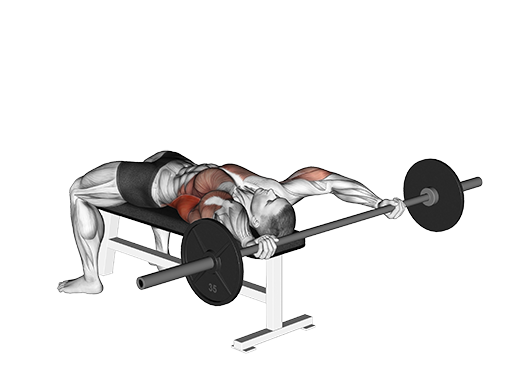
Pullover - Wide (Barbell)
Lats
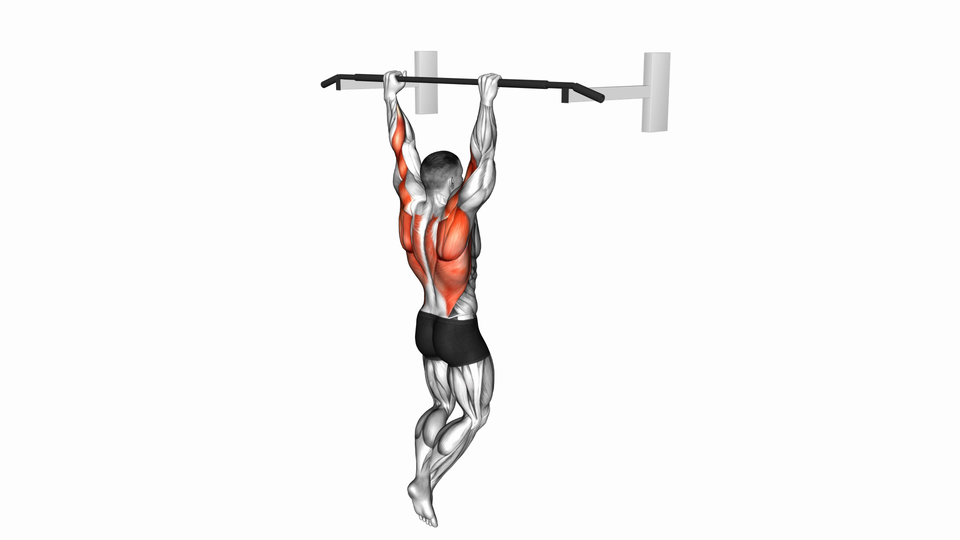
Pullup
Lats
_Back_medium_1.png&w=3840&q=75)
Pullup (Band Assisted)
Lats
_Back_medium_1.png&w=3840&q=75)
Pullup (Neutral Grip)
Lats
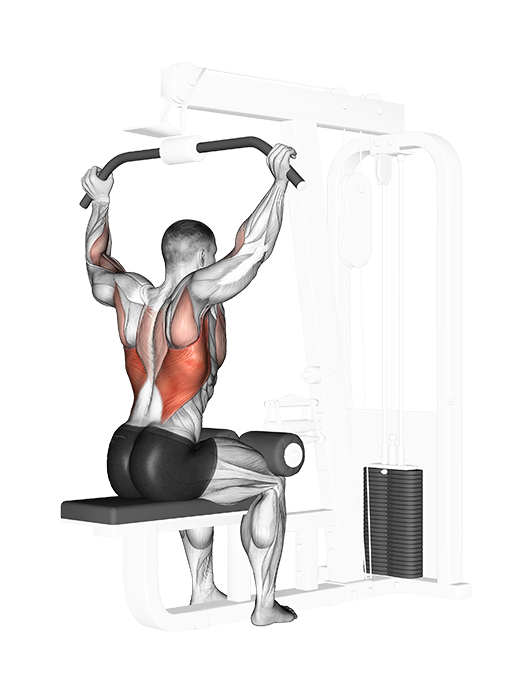
Rear Pulldown (Cable)
Lats
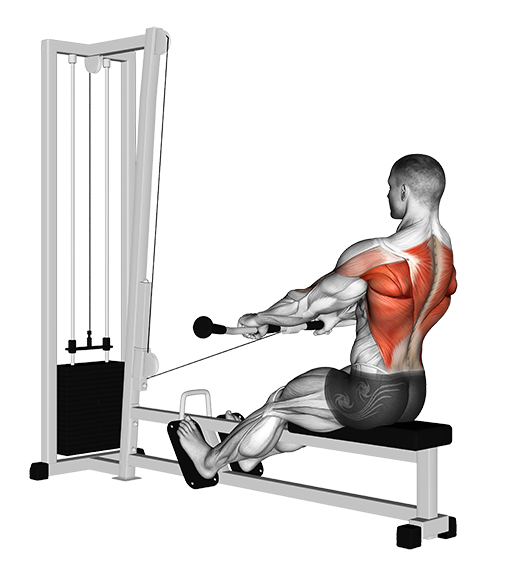
Row - Low, Seated (Cable)
Lats
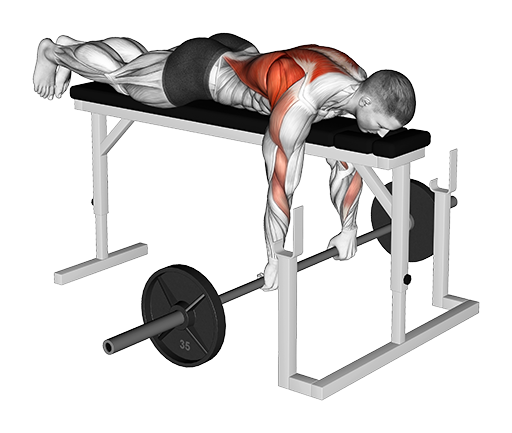
Row - Lying (Barbell)
Lats
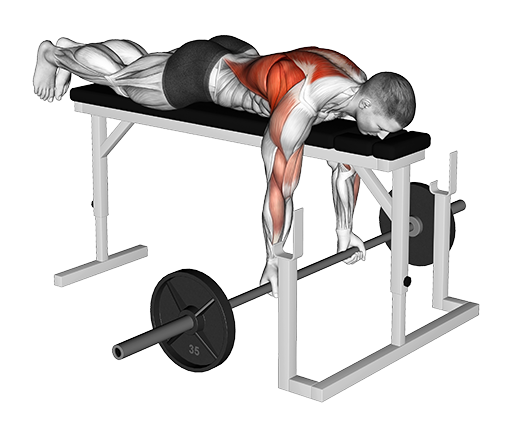
Row - Lying, Reverse (Barbell)
Lats
_Back_medium_1.png&w=3840&q=75)
Row (Machine: Plate Loaded)
Lats
_Back-FIX_medium_1.png&w=3840&q=75)
Row - Iso-Lateral, Neutral Grip, Seated
Lats
_Back_medium_1.png&w=3840&q=75)
Row - Reverse Grip, Seated (Machine: Plate Loaded)
Lats
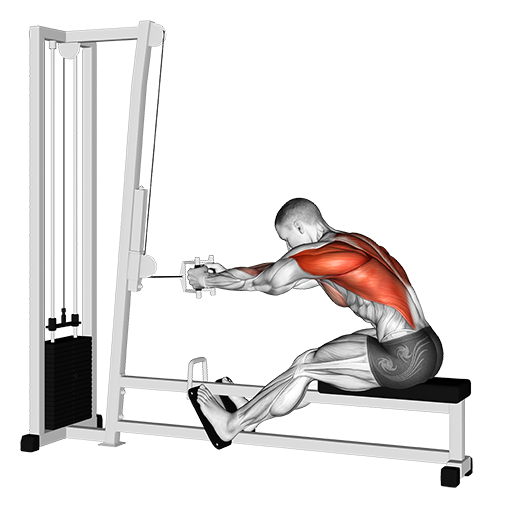
Row - Seated (Cable)
Lats
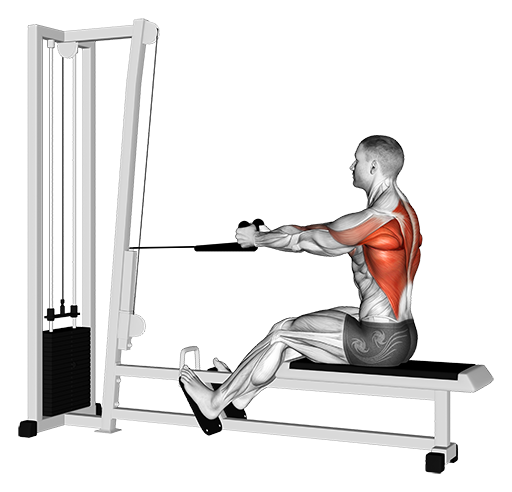
Row - Seated (Cable: Rope)
Upper Back / Rhomboids
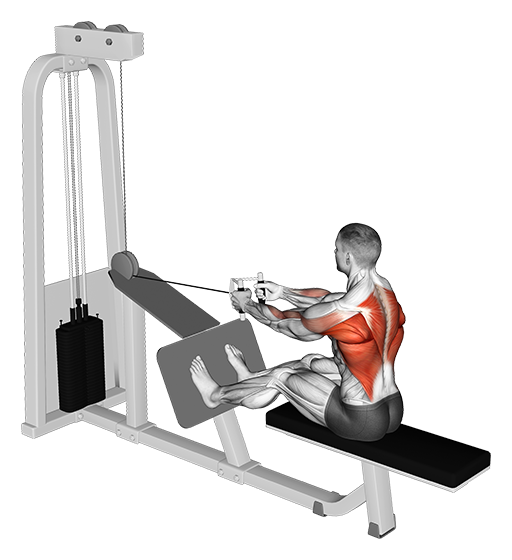
Row - Seated (Cable: V Bar)
Lats
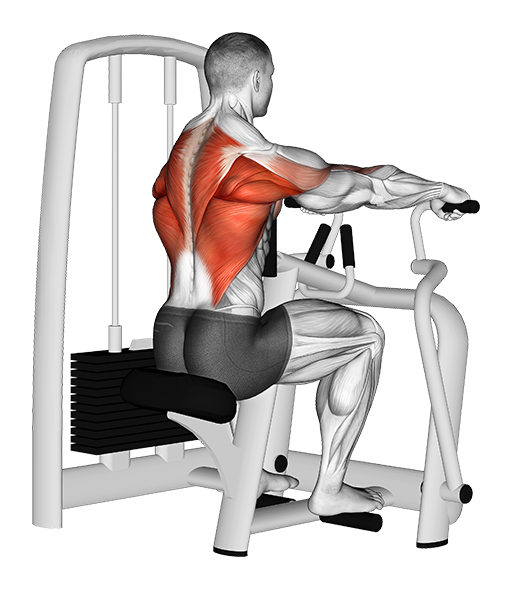
Row - Seated (Machine)
Lats
_Back_medium_1.png&w=3840&q=75)
Row - Seated (Machine: Plate Loaded)
Lats
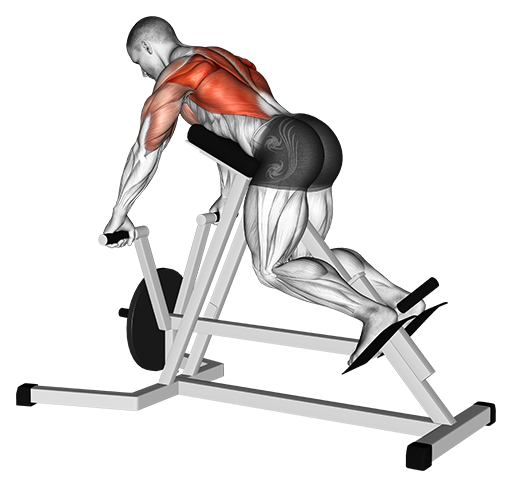
T-Bar Row - Chest Supported
Lats
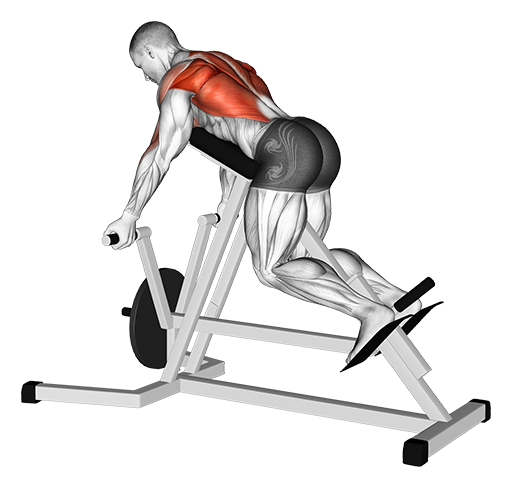
T-Bar Row - Reverse
Lats
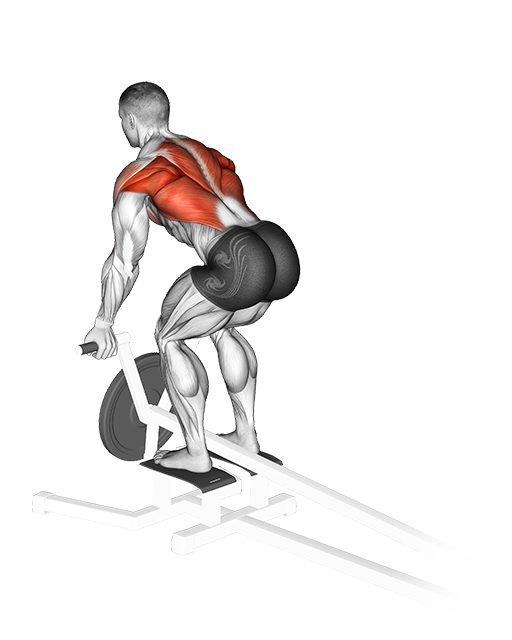
T-Bar Row - Reverse Grip (Machine)
Lats